I spent two years in a cramped basement studio pinning hems for a bridal shop, and if there is one thing those silk slips taught me, it’s that a size label is a complete lie. Brands aren’t designing for your body; they’re designing for a spreadsheet, and they expect you to do the math by guessing. Most “style experts” will tell you to just find your “aesthetic,” but I’m here to tell you that your aesthetic doesn’t matter if the shoulder seam is sitting two inches too low. If you want to stop throwing money at beautiful clothes that make you feel like you’re wearing a sack, you need this complete guide to measuring yourself—not so you can fit into their tiny clothes, but so you can finally own your dimensions.
I’m not going to give you some vague, lifestyle-blogger version of this. I’m going to give you the actual mechanics. We are going to talk about where to hold the tape, why the widest part of your hip is the only number that matters for those high-street trousers, and how to record these figures so you can shop online without the inevitable return trip. This is the no-nonsense math of a wardrobe that actually works on a Wednesday.
Understanding Complete Guide to Measuring Yourself
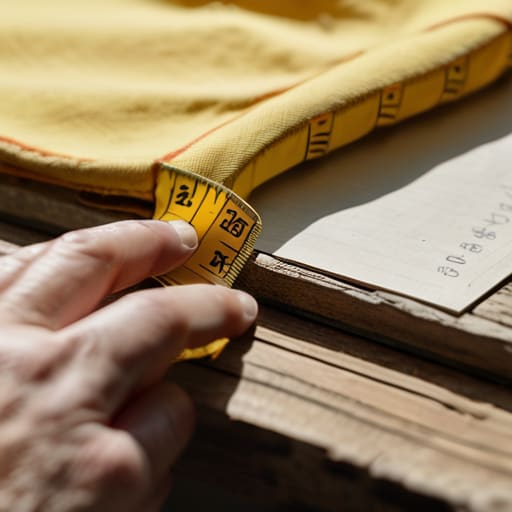
Before you even think about clicking “add to cart,” we need to talk about the math. Most people treat a clothing size chart guide like it’s a law of physics, but it’s actually just a suggestion made by a brand that wants to move inventory. A ‘Medium’ in a fast-fashion shop is a completely different animal than a ‘Medium’ in a vintage boutique. To stop the cycle of buying things that look great on a mannequin but make you feel like you’re wearing a potato sack, you need to master accurate body measurement techniques that don’t rely on a label.
This isn’t about vanity; it’s about geometry. When I’m working on alterations, I’m looking for the architecture of your frame. You need to know exactly where your body curves and where it stays straight. This means learning how to find your natural waistline—which is usually the narrowest part of your torso, not where your jeans happen to sit—and getting precise with your hips. If you don’t know your actual numbers, you’re just gambling with your paycheck.
Key Things to Know
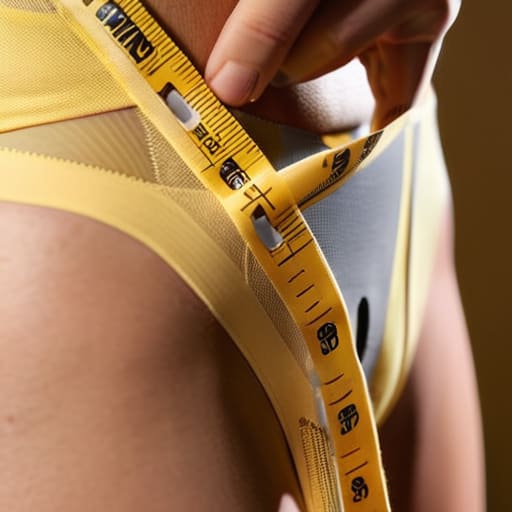
Before you even touch a tape, you need to understand that your body isn’t a static number on a spreadsheet. Most brand-issued clothing size charts are basically works of fiction designed to make you feel like the problem is your hips rather than their pattern making. When you’re learning how to use a measuring tape effectively, the most important rule is to stop pulling it tight. If you’re tugging the tape until it bites into your skin, you aren’t measuring your body; you’re measuring a version of yourself that doesn’t exist in real life. You need enough “ease” to actually breathe, move, and sit down without a seam screaming for mercy.
Precision matters most when you are measuring for custom tailoring or trying to figure out if a vintage find is worth the risk. Pay attention to the landmarks: the bony part of your hip, the widest part of your thighs, and the dip above your hip bones. Don’t just guess where your middle is; find your natural waistline by leaning to one side—wherever your torso creases is the spot. Once you have these numbers, you stop being a victim of “Small, Medium, Large” and start becoming a person who actually knows what they’re looking at.
Practical Tips and Steps
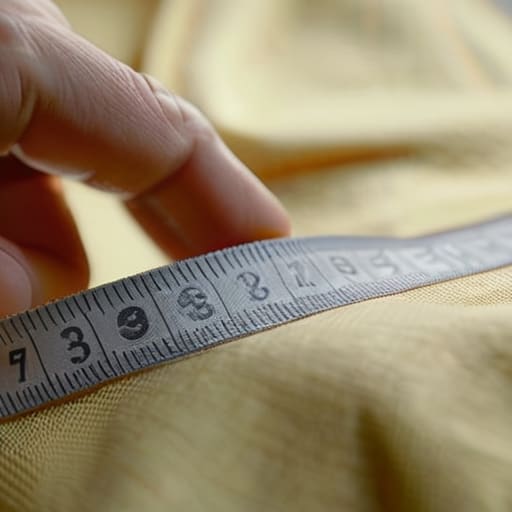
First, ditch the soft fabric tape you use for sewing projects and get a proper, non-stretch tailor’s tape. If you try to use a piece of string and a ruler, you’re going to end up with a garment that pulls uncomfortably at the seams. When you’re learning how to use a measuring tape correctly, the golden rule is to keep it level around your body without pulling it tight enough to indent your skin. If the tape is digging in, you’re measuring for a garment that will feel like a corset; if it’s sagging, you’re buying something that will look sloppy.
When you get to the tricky bits, like measuring hips and thighs, stand with your feet slightly apart and keep your weight even. For the waist, don’t suck in your stomach—that’s a trap. Instead, find the narrowest part of your torso, usually just above your belly button, to identify how to find your natural waistline accurately. This is the most important number if you ever want to wear high-waisted trousers that actually stay up. These accurate body measurement techniques are the difference between a piece that looks custom-made and one that just looks like you’re fighting your clothes.
Common Mistakes to Avoid
The biggest mistake I see—and I see it every time I’m pinning a hem in the studio—is people treating their body like a static object rather than a living, breathing shape. Most people try to measure themselves while standing in a “perfect” posture, sucking in their gut or arching their back to look better in the mirror. Stop that. If you aren’t measuring your true shape, you aren’t getting accurate body measurement techniques; you’re just lying to yourself and your future tailor. If you measure while holding your breath, that garment is going to feel like a straitjacket the second you actually sit down for lunch.
Another massive blunder is ignoring the “slack” factor. When you’re learning how to use a measuring tape, don’t pull it so tight that it indents your skin, but don’t let it sag like a loose shoelace either. For things like measuring hips and thighs, you need to account for the movement of your muscles. If you follow a standard clothing size chart guide blindly without considering your actual proportions, you’ll end up with clothes that fit the numbers but fail the reality test. Measure for the person you are on a Tuesday afternoon, not the version of you that exists only in a photoshoot.
Final Thoughts
Look, I know sitting on the floor with a piece of string and a notebook feels less like “fashion” and more like a math exam you didn’t study for, but this is where the real work happens. Once you stop chasing the ghost of a “size” and start focusing on your actual numbers, the way you shop changes. You stop being a victim of a brand’s inconsistent sizing and start becoming a person who knows exactly what they need. Whether you’re measuring for custom tailoring or just trying to avoid a return fee on a cheap linen shirt, these numbers are your only real defense against bad marketing.
Don’t expect perfection on your first try. Even with accurate body measurement techniques, you might find that your hips and shoulders don’t play by the rules of a standard clothing size chart. That’s fine. That’s actually the point. The goal isn’t to fit into the clothes; it’s to find the clothes that can be adjusted to fit you. Grab your tape, write it down, and keep that list in your phone. It’s the most useful tool you’ll ever own.
Five ways to stop lying to your measuring tape
- Use a soft tailor’s tape, not a metal construction one. If you try to wrap a stiff metal tape around your hips, you’re going to get a measurement that’s technically “correct” but physically impossible to wear. You need something that hugs your curves, not something that fights them.
- Measure your skin, not your clothes. I see people trying to figure out their size by measuring a sweater they already own, and then they’re baffled when the new one feels tight. Measure your actual body. The fabric is supposed to go over your skin, not over another layer of cotton.
- Leave a little “breathing room” or don’t. This is where people mess up. If you’re measuring for a structured blazer, you want it snug but not suffocating. If you’re measuring for a knit dress, you can go tighter. Always decide if you want a “skin” fit or a “room to breathe” fit before you pull the tape.
- Don’t suck in your stomach. I know, we all want to look like a filtered version of ourselves, but if you hold your breath for the measurement, you are buying a wardrobe that you can only wear when you’re hyperventilating. Measure yourself standing naturally, like you’re just waiting for a bus on a Tuesday.
- Check the “ease” math. If your waist is 30 inches and the garment says it’s 30 inches, you aren’t going to be able to sit down, eat lunch, or exhale. A good rule of thumb is to add at least an inch or two of “ease” to your measurements for anything that isn’t spandex.
The Math of a Good Fit
Stop treating your body like a static number on a clothing label; it’s a three-dimensional shape that needs actual measurements, because a label tells you what a brand wants to sell, but a tape measure tells you what will actually look good on you once the seams are right.
Neve Okonkwo-Barr
The Math of a Better Wardrobe
Look, if you’ve actually taken the time to grab that tape measure and write down your numbers, you’re already ahead of 90% of the people walking through high-street fitting rooms. You now know that your “size” is a marketing myth and that your actual measurements—the circumference of your bust, the drop of your waist, and the length of your inseam—are the only truths that matter. Remember: a garment isn’t “wrong” just because it doesn’t slide on like silk; it’s just a set of dimensions that doesn’t match yours yet. Keep these numbers in a note on your phone so you can stop guessing and start knowing exactly what you need before you even tap ‘add to cart’.
At the end of the day, please stop punishing your body for not fitting into a standard sizing chart that was likely designed for a mannequin that doesn’t eat or breathe. The clothes are the problem, not your shape. Once you have your measurements, you have the power to stop being a victim of bad tailoring and start being your own best advocate. Use these numbers to find the pieces that work, and then—and this is the important part—budget for the alterations that turn a “maybe” into a “must-wear.” Style isn’t about buying more; it’s about making what you own work for you.
Frequently Asked Questions
What do I do if my measurements are somewhere between two standard sizes?
Buy the larger size. Seriously. It is much cheaper and easier for a tailor to take a garment in than it is to try and let it out. Most mass-market clothes have very little seam allowance, meaning if it’s too tight, you’re stuck with a piece of fabric you can only wear once. Buy for the largest part of your body, then spend £15 to nip the waist or shoulders. That’s how you actually get a custom fit.
Is it worth paying for alterations if the garment is already a "sale" item?
Always. If you find a gorgeous wool blazer for 70% off but the sleeves are two inches too long, don’t walk away. That’s a win. You just have to do the math: if the sale saved you £50 and the hem costs £15, you’ve still gained £35 and a garment that actually looks like it was made for you. Never let a “sale” tag trick you into buying something that just sits on your body wrong.
How much "wiggle room" should I actually leave in my measurements so I can actually breathe in my clothes?
If you measure skin-tight, you aren’t buying clothes; you’re buying a second skin that will rip the moment you sit down for lunch. For knits, you can go tight. But for woven fabrics—denim, linen, or a structured blazer—add two inches to your hip and waist. That’s your “ease.” It’s the difference between looking polished and looking like you’re holding your breath until you turn blue. Don’t skimp on the math.
