Stop believing the lie that a loose thread or a tiny moth hole means a piece of clothing is officially dead. Most people see a snag and immediately think they need to hit ‘add to cart’ on a replacement, but that is just expensive marketing doing its job. I spent my childhood watching my grandmother perform literal miracles with a needle and some mismatched thread, proving that knowing how to repair a garment is actually a superpower that keeps your budget intact. Whether it’s a seam that’s given up the ghost or a button that’s decided to retire, these aren’t catastrophes; they are just minor maintenance tasks that most of us were never taught to handle.
In this guide, I’m skipping the fluff and the “aesthetic” embroidery trends that don’t actually hold fabric together. I am going to show you the honest, gritty mechanics of it: which stitches actually survive a wash, how to reinforce a weak seam without it looking like a mess, and exactly when a repair is worth your time versus when you should just let it go. We are focusing on functional longevity, not making your clothes look like a craft project. Let’s get into the actual maths of making your wardrobe last.
Guide Overview
Tools & Supplies
- Hand sewing needle [Various sizes for different fabric weights]
- Fabric scissors [For clean cuts through cloth]
- Thimble [To protect finger during heavy stitching]
- Sewing thread [1 spool matching garment color]
- Fabric scraps [Small amount for testing tension]
Step-by-Step Instructions
- 1. First, you need to perform a proper damage assessment before you touch a single thread. Turn the garment inside out and look at the structure. Is it just a loose thread, or has the actual fabric integrity failed? If you have a hole in a thin silk blouse, you’re looking at a delicate repair; if it’s a rip in heavy denim, you’re dealing with something much more forgiving. Don’t just eyeball it—feel the texture to see if the fibers are actually broken or just pulled.
- 2. Gather your kit, but please, for the love of all things holy, do not use a sewing kit from a random souvenir shop. Those needles are blunt and those threads are basically plastic fishing line that will snap the first time you sit down. You need decent quality polyester or cotton thread that matches the color of the garment, a pair of sharp fabric shears (not kitchen scissors!), and a handful of matching pins. If you can’t find a thread that matches perfectly, go one shade darker; a dark thread blends into a shadow, but a light thread looks like a mistake.
- 3. If you’re dealing with a seam that has popped—which is usually just a case of the tension giving up—you’ll want to use a backstitch. This is the workhorse of garment repair. Start about half an inch before the actual hole to anchor the thread, then pass the needle through the fabric, bringing it up a stitch length ahead, and then driving it back into the previous hole. This creates a continuous, strong line of thread that can actually handle the stress of your body moving.
- 4. For actual holes in the fabric itself, you have two real options: darning or patching. If it’s a small hole in a knit sweater, you’re going to want to darn the area by weaving thread back and forth across the gap to create a new “fabric” patch. If it’s a larger hole in something like trousers, don’t try to be a hero with a tiny needle; find a scrap of similar weight fabric and sew a patch onto the underside of the garment. It’s much more durable and much less obvious.
- 5. When you are finishing up, do not just cut the thread close to the fabric and call it a day. You need to knot your ends securely. If you’re sewing by hand, weave the needle through the existing stitches a few times before pulling it through to create a knot that won’t unravel the moment you throw the item in the wash. A loose knot is just a future hole waiting to happen.
- 6. Finally, give the garment a “stress test” before you put it on for a full day. Put it on, move around, sit down, and reach for something. If you hear a tiny tugging sound or see the repair straining, it’s not done. Go back in and reinforce it. It is much easier to spend ten extra minutes with a needle now than it is to try and fix a catastrophic blowout in the middle of a grocery store aisle.
Understanding How to Repair a Garment
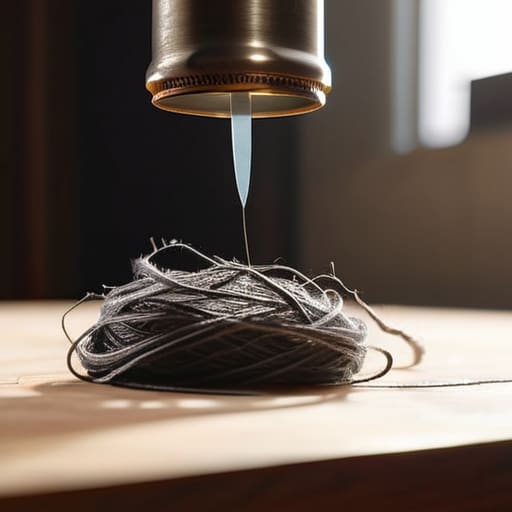
Before you even touch a needle, you need to look at the damage like a forensic investigator. I always tell my clients: don’t just start sewing; figure out what the fabric is actually doing. If you’re fixing torn fabric, you need to know if the weave is stable or if it’s a “run” that’s going to keep traveling like a bad rumor. A tiny snag in a heavy wool coat is a totally different beast than a blowout in a pair of fast-fashion jersey leggings. If the fabric is thinning, a simple stitch won’t save it—you’ll need to reinforce the area from the back to give it some structural integrity.
Don’t go out and buy a massive, expensive sewing machine if you’re just starting; you really only need a few sewing kit essentials to handle 90% of life’s little disasters. I’m talking about decent quality needles, a variety of thread weights, and some sharp fabric shears that actually cut instead of chewing. If you want to get fancy, look into invisible mending techniques for delicate knits, but for most of your Wednesday-to-Sunday wardrobe, knowing your needle and thread basics is more than enough to keep your clothes out of the landfill.
Key Things to Know
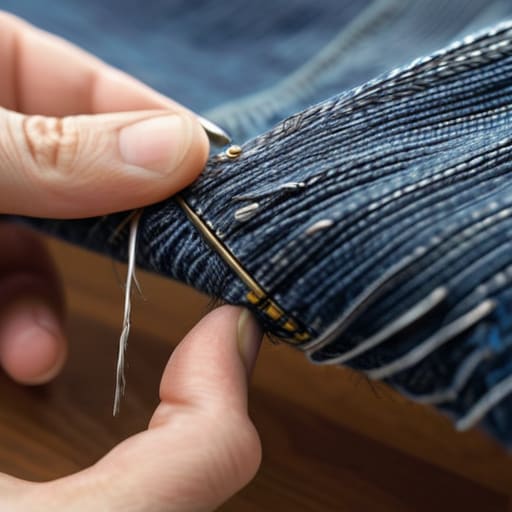
Before you grab a needle, you need to understand that not all damage is created equal. If you’re dealing with a tiny snag in a fine knit, you’re looking at invisible mending techniques to pull those loops back into place without leaving a scar. But if you’re staring at a gaping hole in your favorite denim, stop. You aren’t just fixing a hole; you are managing structural integrity. For heavy-duty stuff, you need to think about reinforcing the area before you even attempt to close the gap, otherwise, you’ll just be sewing a new hole right next to the old one.
Don’t go out and buy a massive, overpriced sewing machine if you’re just starting; honestly, most of my daily life is handled with just the sewing kit essentials kept in a small tin. A decent pair of fabric shears, some sharp pins, and a handful of high-quality threads are your real best friends. My biggest tip? Always match your thread weight to the fabric. Using heavy upholstery thread on a silk blouse is a recipe for a ruined garment. Treat the fabric with respect, and it’ll actually last.
Five ways to stop a repair from becoming a disaster
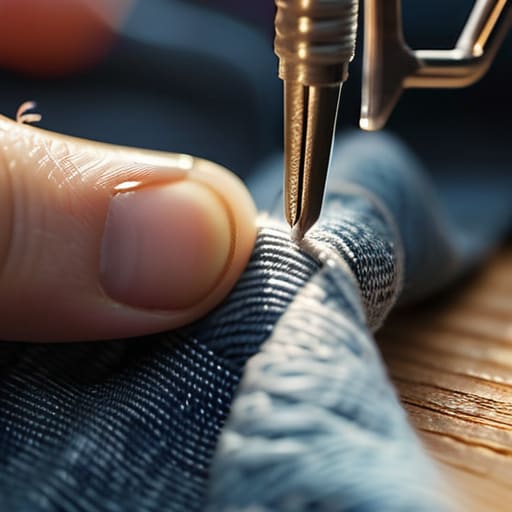
- Check the fabric weight before you even touch a needle; trying to patch a heavy denim jacket with thin cotton thread is a recipe for a structural collapse that’ll look like a scar.
- Don’t just patch the hole, address the tension; if a seam is ripping, it’s usually because the thread is too tight or the fabric is pulling, so fix the cause or you’ll just be sewing the same hole next week.
- Always test your scrap first, because nothing ruins a vintage find faster than realizing your “invisible” mend is actually a bright, puckered mess of mismatched polyester.
- Learn the difference between a decorative fix and a structural one; a beautiful embroidery patch is great for a tiny snag, but if the actual seam is failing, you need a proper reinforcement, not just a pretty cover-up.
- Know when to put the needle down and walk to the tailor; if you’re trying to fix a broken zipper on a structured blazer or a complex lining, you’re going to end up ruining the garment’s shape, and that’s an expensive mistake.
The Real Cost of a Loose Thread
We’ve been conditioned to treat a broken zipper or a fallen hem like a death sentence for a garment, but that’s just clever marketing. A repair isn’t a sign that your clothes are failing you; it’s a sign that you’re actually using them. Most of the time, the difference between a piece of clothing that lives in a landfill and one that lives in your rotation is just twenty minutes and a sturdy needle.
Neve Okonkwo-Barr
The Bottom Line
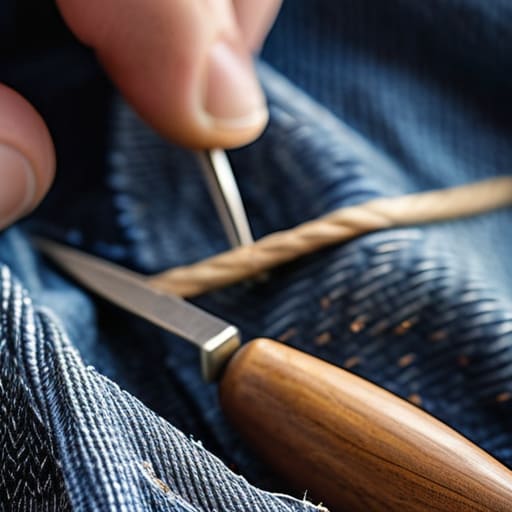
At the end of the day, repairing a garment isn’t about being a master seamstress; it’s about knowing when to pick up a needle and when to hand it over to a professional. Whether you are reinforcing a loose seam, patching a hole in your favorite denim, or realizing that a simple hem adjustment is the difference between looking sloppy and looking intentional, the goal is the same: longevity. Remember that the quality of the thread and the weight of the fabric dictate how much effort you can actually put in. Don’t waste an hour trying to fix a structural tear in a cheap polyester blend that’s destined to fray again in a month. Instead, focus your energy on the pieces that actually have structural integrity and are worth the extra ten minutes of your time.
We have been conditioned to think that a loose thread or a missing button is a signal to head straight to a shopping app. It isn’t. It is just a small mechanical failure in a piece of cloth. Every time you choose to mend instead of replace, you are performing a quiet act of rebellion against a system that profits from your perceived inadequacy. You don’t need a massive wardrobe to have style; you just need a wardrobe that actually fits and stays together through a Tuesday, a Wednesday, and a Thursday. Stop treating your clothes like disposable packaging and start treating them like the tools they are.
Frequently Asked Questions
Is it actually worth paying a tailor to fix a seam, or am I just throwing money away on a piece I don't even like that much?
Here is the math: If the garment is high-quality fabric (check for natural fibers, not that shiny polyester junk) and the silhouette actually suits you, pay the tailor. A seam repair is usually the price of a fancy sandwich. But if you’re only fixing it because you feel guilty about the price tag, stop. If you don’t love the way it feels against your skin, no amount of stitching will make it a staple.
How do I know if a fabric is too delicate for me to try mending it myself without making it look like a DIY disaster?
Look at the weave. If it’s silk, chiffon, or anything that feels like it might dissolve if you breathe on it too hard, put the needle down. If you can’t see the individual threads clearly, you’ll likely snag them and turn a tiny hole into a permanent crater. If it’s a heavy denim or a sturdy cotton, go for it. If it’s delicate, pay a professional the £15—it’s cheaper than replacing the whole garment.
At what point does a repair stop being a "fix" and start being a patch job that makes the whole garment look cheap?
It stops being a fix the moment you start fighting the fabric instead of working with it. If you’re using heavy polyester thread to mend a delicate silk blouse, or if you’re layering three different types of patches just to hide a hole, you’ve crossed the line. A repair is invisible or intentional; a patch job is just a scar. If the structural integrity is gone or the fabric is too thin to hold a seam, stop. That’s not a repair; that’s a funeral.
