I spent my first two years in a basement studio pinning bridal hems, and if there is one thing those gowns taught me, it’s that a single loose thread can make a three-thousand-pound garment look like a rag. Most people think a dangling button is a sign that a piece is “done,” so they toss it or, worse, try to DIY a fix that ends up pulling the fabric into a permanent, ugly pucker. But here is the truth: knowing how to sew on a button properly isn’t just about getting the plastic back on the shirt; it’s about maintaining the integrity of the seam so the garment actually stays in your rotation.
I’m not going to give you some vague, lifestyle-blogger version of this where everything looks aesthetic and effortless. I’m going to show you the actual mechanics—the thread tension, the shank, and why you shouldn’t skip the little bit of extra space that keeps the fabric from straining. We are going to talk about the math of a good stitch so you can stop treating your clothes as disposable and start treating them like the investments they are.
Guide Overview
Tools & Supplies
- Needle and thread or embroidery floss for sewing
- Scissors for cutting thread
- Toothpick or needle for creating a shank
- Button (1 unit)
- Fabric item requiring repair (1 unit)
Step-by-Step Instructions
- 1. First, you need to find your thread. Don’t just grab the thin, flimsy stuff from a cheap sewing kit; if you’re fixing a heavy coat or a thick denim shirt, you want something with a bit of actual substance. Cut a length about the length of your arm—if you cut it too long, you’ll spend half the time untangling knots, and nobody has time for that.
- 2. Thread your needle and pull it through so you have a long tail on both ends. This is the secret to a button that doesn’t wobble after three wears. By using a double thread, you’re essentially doubling your strength. Knot the two ends together at the long tail so the thread doesn’t just slip right through the eye of the needle while you’re working.
- 3. Mark your spot. Don’t just wing it. Take the garment and hold the button where it should live, then use a piece of chalk or a pencil to mark the fabric. If you’re working on a shirt, make sure you’re aligning it with the buttonhole on the other side, otherwise, you’ll end up with a garment that pulls awkwardly across your chest every time you move.
- 4. Start from the underside. Poke the needle up through the fabric from the back to the front, right at your mark. This hides the starting knot on the inside of the garment where it won’t scratch your skin or ruin the silhouette of the piece. Once you’re through, place your button on top and start your first pass through one of the holes.
- 5. The “Shank” Trick. This is the part most people skip, and it’s why their buttons always feel too tight. As you sew, don’t pull the thread tight against the fabric. Instead, stack a few matchsticks or a toothpick on top of the button while you sew. This creates a little gap between the button and the cloth, giving the fabric room to sit underneath the button when you actually fasten it.
- 6. Keep going until you’ve done about six or seven passes through the holes. You want it to feel secure, not decorative. Once you’ve got enough loops, bring the needle up through the fabric but not through the button itself. Wrap the thread tightly around the base of the stitches—the part where the thread meets the fabric—several times. This creates a sturdy little neck (the shank) that keeps the button from flopping around.
- 7. Finish it off properly. Take your needle under the fabric, grab a tiny bit of the thread, and pull it through to create a loop. Pass the needle through that loop to make a knot, then repeat it once more for good measure. Cut the thread, pull the garment inside out, and snip any long loose ends. You’re done, and you just saved yourself the cost of a new shirt.
Understanding How to Sew on a Button Properly
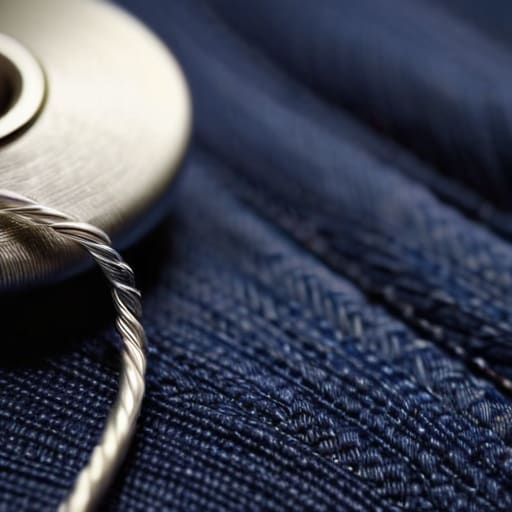
Before you even pick up the needle, let’s talk about the physics of it. Most people fail because they sew the button too tight against the fabric, which makes the garment pull and look cheap when you actually try to wear it. You need to practice creating a button shank—that tiny little pillar of thread between the button and the cloth. If you don’t leave that millimeter of breathing room, you’re essentially asking the fabric to fight the button every time you move. It’s the difference between a shirt that looks tailored and one that looks like it’s screaming for help.
You also need to be smart about your tools. Don’t go digging through a junk drawer for a needle that’s been bent since 2019; grab some decent sewing kit essentials like a sharp embroidery needle and a high-quality polyester thread. Cotton thread is lovely for embroidery, but if you’re securing buttons on a heavy wool coat or a high-stress denim jacket, it’ll snap within a month. Use a thread that can actually handle the tension of your body moving, otherwise, you’ll be back here doing this all over again by next Tuesday.
Key Things to Know
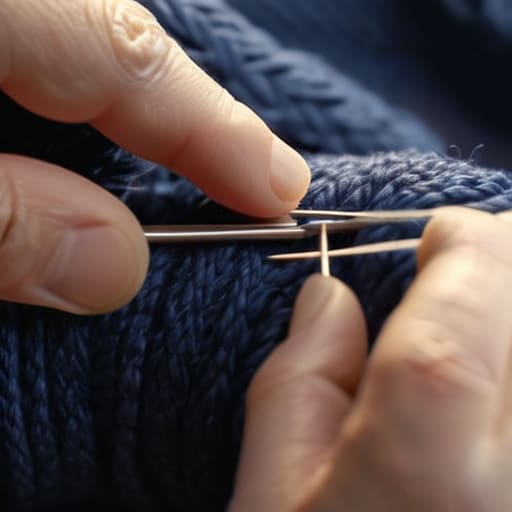
First, let’s talk about the stuff people usually ignore until it’s too late: your materials. If you’re using that thin, flimsy thread that came in a cheap travel kit, stop. For anything heavier than a summer blouse—like a denim jacket or a thick wool coat—you need to double or even triple your thread. When securing buttons on clothing that actually sees movement, strength is everything. I always tell my clients that a single strand of thread is just a ticking time bomb. If you’re working on a heavy knit, grab a slightly thicker needle; trying to force a tiny needle through thick layers is a fast way to snap your thread and end up with a mess.
The most important thing I can teach you, which most “how-to” guides skip, is creating a button shank. If you sew a button flush against the fabric, the tension from the other side of the garment will eventually pull the thread right through the weave. You need a little bit of “breathing room” between the button and the cloth. You can do this by stacking a few toothpicks or matchsticks on top of the fabric while you sew. It creates a little pillar of thread that lets the button sit comfortably, which is the secret to preventing loose buttons from becoming a recurring nightmare.
Five ways to make sure that button actually stays put
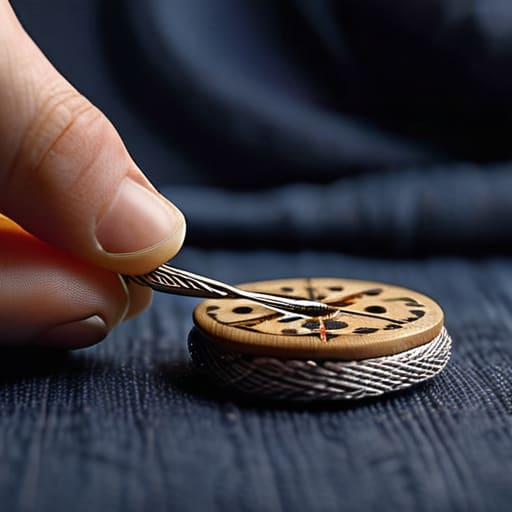
- Don’t sew it flush against the fabric. If you pull the button tight against the shirt, the fabric will bunch and pull every time you try to button it up, making the whole garment look cheap and poorly fitted. Leave a little breathing room.
- Use a “shank” if you have one. If you’re working with a thicker coat or a heavy flannel, wrap your thread around the base of the button a few times after it’s attached. This creates a little pillar of thread that gives the button space to sit over the fabric thickness.
- Double your thread, but don’t go overboard. I always use a double strand for strength, but if you start knotting every three stitches, you’re just creating unnecessary bulk that’s going to look messy from the outside.
- Check your thread weight. Using a heavy-duty upholstery thread on a delicate silk blouse is a recipe for tearing a hole in your clothes. Match the weight of the thread to the weight of the garment, or you’ll end up paying me to fix a puncture instead of a loose button.
- Secure the end properly. Don’t just tie a tiny knot and hope for the best. Go through the fabric a few times with the knot to bury it, or use a tiny drop of clear nail polish on the thread tail if you’re worried about it unraveling—it’s an old trick, but it works when you can’t get to a tailor.
The true cost of a loose thread
A loose button isn’t just a nuisance; it’s a tiny, preventable leak in your wardrobe’s budget. Most people see a missing button as a reason to bin a shirt, but if you take five minutes to sew it on with enough tension to actually hold a seam, you’ve just saved yourself thirty quid and a trip to a fast-fashion retailer you didn’t even want to shop at in the first place.
Neve Okonkwo-Barr
The Bottom Line
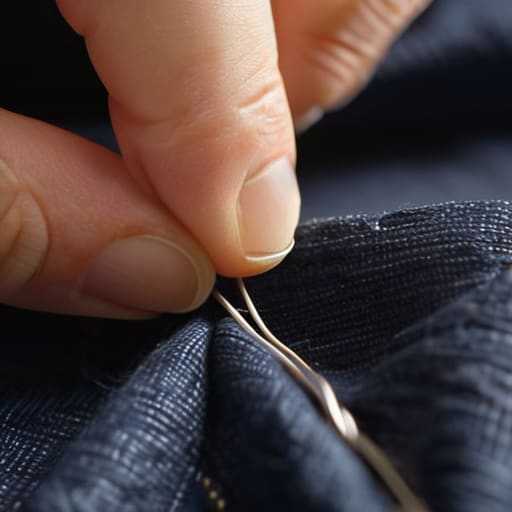
At the end of the day, sewing on a button isn’t about being a master tailor; it’s about having the sense to realize that a five-minute fix is better than a fifty-pound replacement. Remember that the secret is all in the tension and the thread. If you’ve used a spacer—whether it’s a toothpick or a piece of cardboard—to keep that shank from pulling too tight against the fabric, you’ve already done more for the longevity of that garment than most people do in a lifetime of shopping. Don’t rush the process, don’t skimp on the knot, and for heaven’s sake, make sure you match the thread weight to the fabric so you aren’t fighting the needle halfway through.
We live in a culture that treats clothes as disposable, meant to be tossed the second a seam puckers or a fastening fails. But when you take the time to mend something yourself, you are making a quiet, stubborn stand against that cycle. You aren’t just fixing a shirt; you are extending its life and proving that you actually know how to care for what you own. A wardrobe that lasts isn’t built in a luxury boutique; it is built in your living room, one small, intentional stitch at a time. Now, go grab your kit and stop letting perfectly good clothes sit in the “to-be-repaired” pile.
Frequently Asked Questions
What do I do if the fabric is too thin or flimsy to hold the weight of a heavy button?
If you try to force a heavy button onto a flimsy jersey or thin silk, you’re just going to end up with a permanent little hole where the thread pulls through. Don’t do it. You need to reinforce the back. Cut a small circle of scrap fabric—even a bit of interfacing or an old cotton shirt works—and place it on the inside of the garment. Sew through both layers. It adds structure so the button actually stays put.
How do I know if I’ve pulled the thread too tight and ended up puckering the garment?
If the fabric is bunching or looking like a tiny, angry drawstring around the button, you’ve gone too far. It’s a common mistake, but don’t try to “fix” it by sewing over it; you’ll just end up with a permanent scar on the garment. You have to snip the threads, pull the button off, and start again. This time, keep the tension loose enough that the fabric can still breathe.
Is there a way to fix a button that’s already hanging by a single thread without taking the whole thing off?
Look, I get it—you’re mid-day, you’re in a rush, and that button is dangling like a loose tooth. Technically? You can try to “reinforce” it by winding more thread around that single strand, but honestly, it’s a disaster waiting to happen. It’ll look wonky and eventually snap, leaving you with a hole in your shirt. Just take the thirty seconds to snip it off and re-sew it properly. It’s a ten-cent fix that saves a ten-pound shirt.
