I once spent a whole afternoon in a damp basement studio trying to convince a client not to bin a beautiful, heavy-weight wool skirt just because the waistband was digging into her ribs. The fashion industry wants you to believe that when your body changes, your clothes should too, but that is a lie designed to keep you hitting ‘checkout.’ The truth is, knowing how to let clothes out is often just a matter of checking your seam allowance and seeing how much fabric is hiding in the guts of the garment. Most people think a tight fit means a dead garment, but usually, it just means you need to stop shopping and start sewing.
In this guide, I’m skipping the fluff and getting straight to the mechanics of what is actually possible. I’ll show you how to inspect your seams to see if there’s enough “give” to work with, whether you’re dealing with denim or something more delicate like silk. We’ll talk about when a DIY job is a total waste of time and when you should instead spend the fifteen pounds to see a professional. This isn’t about “investing” in new pieces; it’s about making what you already own work for your life on a Wednesday.
Guide Overview
Tools & Supplies
- Seam ripper for removing existing stitching
- Sewing machine or hand needles for new stitching
- Fabric scissors for trimming excess thread
- Measuring tape for accuracy
- Matching thread 1 spool
- Fabric scraps or lace for gussets (if needed)
- Sewing pins to hold fabric in place
Step-by-Step Instructions
- 1. First, you need to perform some seam archaeology. Turn the garment inside out and look at the seam allowance—that’s the extra flap of fabric between the stitching and the raw edge. If you’re working with a pair of trousers or a skirt and there’s a wide margin of fabric sitting there, you’re in luck. If the seam is cut right up to the stitch line, you aren’t letting it out; you’re just making it a ragged mess.
- 2. Check the fabric’s integrity before you even touch a pair of scissors. If you’re dealing with a vintage silk or a very thin rayon, that extra fabric might be too delicate to hold a new line of stitching. You want something with enough structural weight, like denim, heavy cotton, or wool, to handle being re-sewn without the threads pulling apart like wet paper.
- 3. Grab a seam ripper—and please, don’t use kitchen scissors for this—and carefully unpick the existing stitching. You want to go as far as the garment allows, ideally all the way to the waistband or the hip. Be patient here; if you rush and nick the actual fabric, you’ve just turned a fixable problem into a permanent hole.
- 4. Once the old thread is out, you need to press the fabric flat. This is where most people fail. You have to iron out the old creases left by the previous seam so you can see exactly how much extra real estate you actually have to work with. If you don’t press it, your new seam will look wavy and amateur, no matter how good your sewing is.
- 5. Mark your new line with tailor’s chalk or a very sharp pencil. I always suggest pinning the garment on yourself first to make sure the new width actually feels comfortable when you sit down. There is nothing worse than letting a waist out by half an inch only to realize you still can’t breathe after a sandwich.
- 6. Now, sew your new line of stitching. If you’re using a machine, keep your tension even. If you’re doing this by hand because you’re a bit of a rebel, use a backstitch for strength. You want this new seam to be just as sturdy as the original, especially in high-stress areas like the seat of your trousers.
- 7. Finally, finish the raw edges. If you don’t have a serger (which, let’s be honest, most of us don’t), use a zigzag stitch along the edge of the new seam allowance to prevent fraying. Once that’s done, give the whole thing one last steam. A well-pressed seam is the difference between looking like you’re wearing a hand-me-down and looking like the garment was made for you.
Understanding How to Let Clothes Out
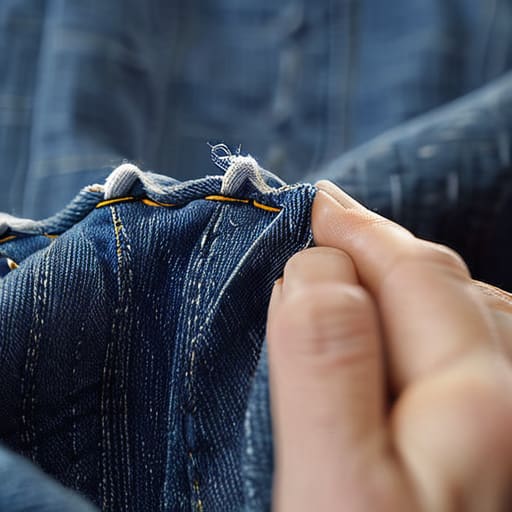
Before you even touch a needle, you need to play detective with the inside of the garment. Flip the piece inside out and look for the “seam allowance”—that extra flap of fabric tucked inside the seam. If you’re lucky and the maker left an inch or two, you’ve hit the jackpot. If the seam is pressed right against the edge of the fabric, you aren’t going to find any extra room by just unpicking it. In that case, you aren’t just resizing; you’re essentially re-engineering the piece.
When you are using a seam ripper safely, go slow. If you yank too hard on a delicate silk or a heavy denim, you’ll chew up the fibers and end up with a hole that’s more expensive to fix than the garment was worth. If there isn’t enough internal fabric for expanding waistbands or hips, don’t panic. This is where we move from simple repairs to adding fabric panels. I often suggest using a contrasting fabric or even a bit of lace to create a gusset. It turns a “too small” mistake into a deliberate design choice that actually looks like it was meant to be there.
Key Things to Know
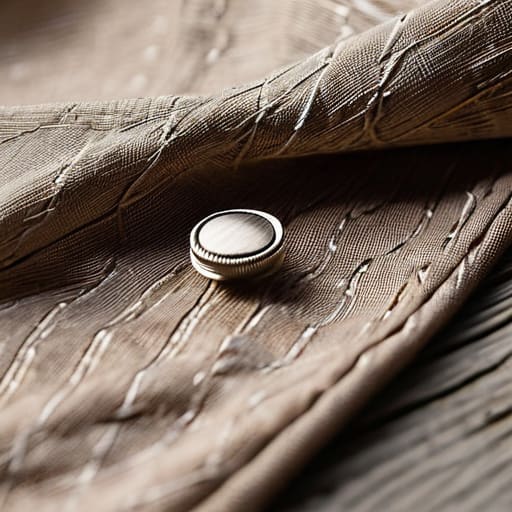
Before you grab your scissors, we need to talk about the “invisible” math of a garment. Every piece of clothing has a built-in limit determined by the seam allowance—that extra flap of fabric inside the seam. If you’re lucky, you’ve got an inch of grace on either side. If you’re unlucky, you’re working with a “serged” edge where the fabric is trimmed close to the stitch, meaning there is zero room to move. In that case, you aren’t just resizing; you’re adding fabric panels or “gussets” to create space. It’s more work, and it might cost you more in a professional shop, but it beats throwing a perfectly good skirt in the bin.
Also, please, for the love of everything holy, be careful with your tools. Using a seam ripper safely is the difference between a successful resize and a permanent hole in your favorite trousers. One wrong tug and you’ve compromised the structural integrity of the weave. If you are attempting to expand waistbands on denim, remember that the fabric is heavy and stubborn; you’ll need to adjust your sewing machine techniques for resizing to ensure the new tension doesn’t cause the fabric to pucker or wave unnaturally.
The Reality Check: 5 things to look for before you start sewing
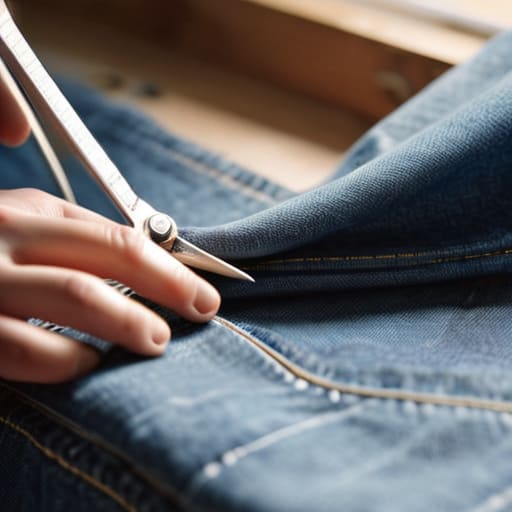
- Check the seam allowance first. Turn the garment inside out and look at how much extra fabric is sitting between the stitch line and the raw edge. If there’s only 5mm of fabric there, you aren’t letting anything out; you’re just making the garment more likely to rip at the seams. You need at least 1.5cm to 2cm of “wiggle room” for it to actually be worth your time.
- Beware the “tapered” trap. It is much easier to let out a pair of trousers that are cut straight from the hip to the ankle than it is to fix a pair that was aggressively tapered at the thigh. If the garment was designed to hug your curves in a specific way, letting it out might leave you with weird, structural gaps that no amount of stitching can hide.
- Feel the fabric weight. Heavy denim and sturdy cotton twill are your best friends here because they can handle being re-stitched without puckering. If you’re trying to let out a lightweight silk blouse or a thin viscose dress, the fabric might just fray or pull at the new seam line, making the whole thing look homemade in the worst way possible.
- Look for the pattern pieces. If you are letting out a skirt or trousers, check if the original pattern had extra fabric specifically for adjustments. Some high-quality vintage pieces have generous seam allowances built in for exactly this reason, while fast fashion is often cut so close to the edge that there is literally nothing left to work with.
- Do the math on the cost. If you’re doing this yourself, factor in the cost of new thread and maybe a specialized seam ripper. If you’re taking it to a pro, ask for a quote before they touch it. If the tailor wants £20 to let out a pair of jeans that you bought for £15 at a charity shop, you aren’t saving money—you’re just paying for a very expensive lesson in math.
The Math of a Good Fit
Stop treating a tight waistband like a personal failure or a reason to hit ‘add to cart’ on a new pair of trousers. Most garments have enough seam allowance hidden in the guts to give you an extra inch of breathing room, and that fix costs significantly less than the markup on a new size. Style isn’t about finding the perfect fit on a rack; it’s about knowing when to stop shopping and start pinning.
Neve Okonkwo-Barr
The Bottom Line on Letting Things Out
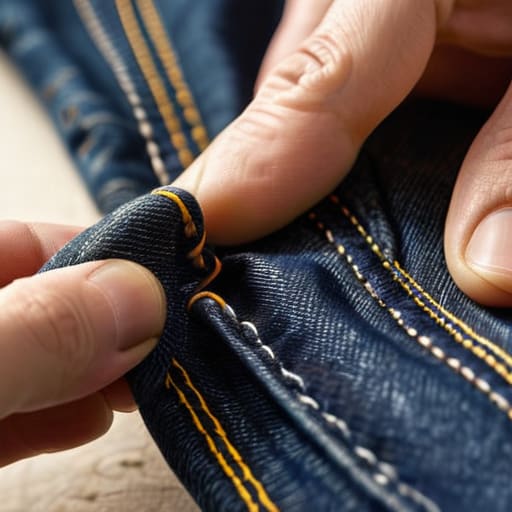
At the end of the day, letting clothes out is a game of math and seam allowance. Before you grab the seam ripper, you have to check if that garment actually has the extra fabric tucked inside the seams to make it worth your time. If you’re working with a heavy denim or a structured wool, you have much better odds than you do with a flimsy, fast-fashion polyester blend that’s cut dangerously close to the edge. Remember: always check the pattern pieces or the internal seam width first, because you can’t create fabric that isn’t there. If the math checks out, whether you do it yourself or pay a professional twenty quid to do it properly, you’ve just turned a “too small” mistake into a functional piece of your wardrobe.
We have been conditioned to think that if something doesn’t fit perfectly on the rack, it’s broken or obsolete. That is a lie designed to keep you clicking ‘add to cart.’ Your clothes should serve your life, not the other way around, and your body is allowed to change without your entire closet becoming a graveyard of “someday” outfits. Stop looking at your clothes as static objects and start seeing them as malleable tools. A little bit of extra room in the waist or a bit more breathing space in the hips isn’t a compromise; it is smart, sustainable style that actually works on a Wednesday.
Frequently Asked Questions
If there isn't enough extra fabric in the seam allowance, is the garment a lost cause or are there workarounds?
It’s rarely a lost cause, but you have to stop thinking about the garment as a finished object and start thinking about it as raw material. If the seam allowance is non-existent, we look for “donor fabric.” This might mean adding side panels in a contrasting texture or replacing a waistband with something more forgiving. It changes the silhouette, sure, but it’s better than a wardrobe full of things you can’t actually wear.
How much should I actually expect to pay a tailor to let out a pair of trousers versus a structured blazer?
Don’t expect the same price for both. Letting out trousers is usually a quick win—think the price of a fancy lunch (£15–£25)—because we’re mostly just unpicking the side seams and using that extra fabric in the seam allowance. A structured blazer is a different beast. You’re dealing with linings, shoulder pads, and canvas. To let that out properly without it looking wonky, expect to pay closer to £40–£60. It’s more labor, but it’s worth it.
Will letting out a garment change the way the fabric drapes or affect the original silhouette?
Yes, it absolutely will. When you let a garment out, you’re using the “seam allowance”—that extra bit of fabric tucked inside. By moving the seam closer to the edge, you’re essentially changing the geometry of the piece. If there’s a lot of extra fabric, the drape might feel slightly more relaxed or even a bit “baggy” in ways the designer didn’t intend. It won’t look identical to the original, but if the fabric is high-quality, it usually just looks like a slightly more comfortable version of itself.
