Stop letting those glossy, high-production gardening catalogs trick you into thinking you need a $500 raised-bed kit and a professional irrigation system just to grow a single tomato. It’s a scam, honestly. Most people approach learning how to start a vegetable garden like they’re buying a designer trench coat—they think the price tag and the “aesthetic” setup are what make it work. But I learned the hard way from my grandmother that if you don’t understand the basic structure of your soil, all that expensive equipment is just expensive landfill. You don’t need a curated lifestyle; you just need a patch of dirt that isn’t complete rubbish and the right seeds.
I’m not here to sell you on a Pinterest-perfect farmstead that dies the moment you go on holiday. Instead, I’m going to show you the actual maths of growing your own food without the unnecessary overhead. We’re going to talk about which cheap seeds are actually worth the gamble, how to spot decent soil like I spot a quality seam, and how to build a setup that actually survives a random Tuesday in July. This is about utility, not decoration.
Guide Overview
Tools & Supplies
- Hand trowel for digging small holes
- Garden fork for breaking up soil
- Watering can or hose for hydration
- Vegetable seeds or seedlings (10-20 units)
- Potting mix or garden soil (2-4 bags)
- Organic fertilizer (1 bag)
Step-by-Step Instructions
- 1. Stop looking at those high-end, pre-packaged raised bed kits on Instagram. They are just expensive wooden boxes that look good in a photo but offer zero structural integrity once the rain hits. Instead, find a patch of ground that actually gets sun—I mean real sun, not just “it looks bright through the window” sun—and test your soil. You don’t need a laboratory; just grab a handful of dirt. If it feels like heavy, unyielding clay or dry, lifeless sand, you aren’t planting yet. You need to amend it with compost until it actually feels like something living can grow in it.
- 2. Choose your crops based on what you actually eat, not what looks “aesthetic” in a basket. There is no point in spending twenty quid on heirloom tomato seeds if you secretly hate the taste of tomatoes but live on cucumbers. Look at your grocery receipt from last week; that is your real shopping list. Pick two or three things that are hard to kill and actually show up in your meals. If you’re a beginner, stick to things like radishes or herbs; they have a high success rate and won’t make you feel like a failure by July.
- 3. Don’t get tricked into buying “designer” gardening tools. Most of those sets in the supermarket are made of flimsy plastic and cheap alloys that will snap the first time you hit a stubborn root. You really only need three things: a decent trowel, a hand fork, and a pair of gloves that don’t make your hands sweat like a sauna. If you can find a secondhand metal spade at a charity shop, grab it. A solid piece of steel will last you a decade, whereas the cheap stuff is just expensive litter.
- 4. Timing is everything, and the “planting season” isn’t a single date you can find on a glossy calendar. You have to watch the frost. If you put your summer crops in the ground while the nights are still biting, you are essentially throwing your money into a frozen grave. Check your local frost dates first. It is much better to wait two weeks and have a healthy plant than to rush it and watch a frost turn your hard work into black mush overnight.
- 5. Water your plants like they actually matter, but don’t drown them. Most people make the mistake of spraying the leaves every single morning, which is just an invitation for fungus and rot. You want to aim for the base of the plant. The soil needs to stay consistently moist, like a wrung-out sponge, not a swamp and not a desert. If you can’t stick your finger an inch into the dirt and feel dampness, you’re behind on the job.
- 6. Mulch is not an optional luxury; it is the difference between a garden that works and one that is a constant chore. Spread some straw, wood chips, or even dried grass clippings around your plants. This acts like a protective layer that keeps the moisture in and the weeds from staging a coup. Think of it like a good lining in a coat—it might not be the most visible part, but without it, the whole thing falls apart when things get difficult.
- 7. Finally, learn to accept that things will die. I see people treat a wilted lettuce like a personal tragedy, but it’s just biology. If a plant dies, don’t go out and buy the most expensive replacement on the market; just look at why it happened. Was it too much water? Too little sun? Once you figure out the “why,” you’ve actually learned something. Gardening is just a series of small, practical adjustments until you find a rhythm that works for your specific patch of dirt.
The Math of Soil Preparation and Raised Bed Gardening vs in Ground
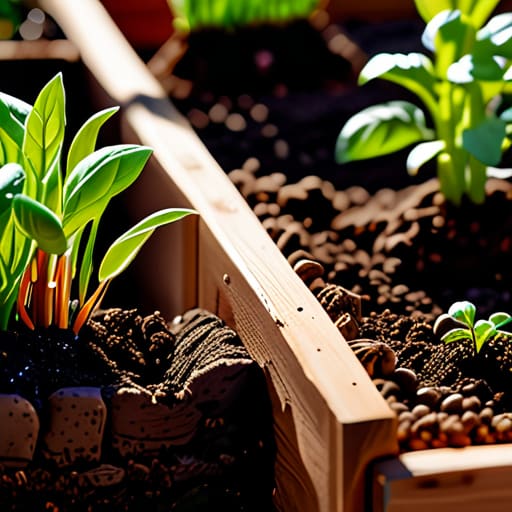
Look, I know the internet loves to sell you these $500 “starter kits” that promise a lush Eden by July, but we need to talk about the actual math of your dirt. When you’re weighing raised bed gardening vs in-ground options, stop looking at the aesthetic and start looking at your drainage and your wallet. A raised bed is basically a custom-tailored garment for your plants; it gives you total control over the soil quality, which is great if your backyard is mostly heavy clay or sand. However, the upfront cost of the wood and the massive amount of high-quality compost you’ll need to fill it isn’t cheap. It’s a high initial “investment,” but it saves you from the endless struggle of fighting poor ground conditions every single season.
If you’re on a budget, in-ground planting is your best friend, provided you don’t skip the vegetable garden soil preparation. You don’t need to buy expensive bagged dirt; you just need to amend what you already have with organic matter. Think of it like a good seam allowance—you need enough room for the roots to move and breathe. If your soil is dead, your plants will look cheap and tired, no matter how many “beginner-friendly” seeds you buy. Spend your money on a decent shovel and some decent compost instead of fancy cedar planks.
Best Vegetables for Beginners and Essential Sunlight Requirements
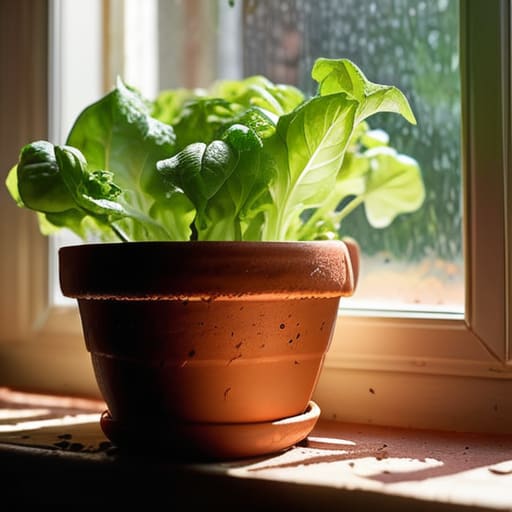
Stop looking at those massive, lush harvest spreads on Instagram and asking yourself why your windowsill looks like a graveyard. Most people fail because they try to grow things that are high-maintenance divas. If you want a win, stick to the basics: radishes, lettuce, and herbs. These are the best vegetables for beginners because they don’t demand a PhD in botany to stay alive. They grow fast, they don’t care if you forget them for a day, and they actually reward you with something edible before you lose interest.
The real deal-breaker, though, isn’t your green thumb; it’s your light. You can spend a fortune on organic seeds, but if your patch is stuck in the shadow of a garage, you’re just wasting money. Most edible crops need at least six hours of direct sun to do anything useful. When checking your vegetable garden sunlight requirements, don’t just look at the garden at noon. Watch how the shadows move at 9 AM and 4 PM. If you’ve only got a sliver of sun, pivot to leafy greens or mint—they’re much more forgiving of the shade.
Stop treating your garden like a Pinterest board and start treating it like a budget
- Don’t buy the “starter kits” with the pre-measured seeds and tiny plastic pots; you’re paying a 400% markup for something you can do with a packet of seeds and some old yogurt tubs.
- If you can’t commit to weeding for twenty minutes every Sunday, don’t bother planting anything that requires high maintenance; stick to things that grow like weeds themselves, like zucchini or mint (but keep the mint in a pot or it will colonize your entire yard).
- Forget the fancy automated irrigation systems; a watering can and a sense of rhythm are free, and they won’t break and flood your kitchen in three weeks.
- Stop obsessing over the “perfect” heirloom variety that looks like a piece of art but tastes like nothing; buy the reliable, ugly hybrid that actually survives a sudden downpour or a week of heat.
- Check your local hardware store’s clearance section for tools instead of the boutique garden center; a slightly rusty trowel works exactly the same as a gold-plated one, and it costs less than your morning latte.
Stop Overthinking the Plot
Look, you don’t need a professional irrigation system or a designer greenhouse to get something edible out of the dirt. We’ve covered the heavy lifting: choosing the right soil so you aren’t fighting a losing battle against clay, picking vegetables that actually thrive in your specific sunlight, and deciding if a raised bed is worth the extra spend or if you should just dig in. It all comes down to the same thing I tell my clients about a vintage blazer: don’t let the upfront cost or the complexity intimidate you. If you have decent soil and a few hardy seedlings, you have a garden. Everything else is just expensive window dressing that won’t actually make your tomatoes taste any better.
At the end of the day, gardening is a lot like tailoring; it’s about making adjustments as you go. Your first crop might look a bit wonky, and your layout might be slightly off, but that is part of the process. You aren’t aiming for a Pinterest-perfect landscape that requires a full-time maintenance crew; you are just trying to grow something real. So, stop reading the manuals, get your hands a little dirty, and just start. The most important ingredient isn’t a specific fertilizer—it’s just the willingness to show up and see what happens.
Look, you don’t need to spend a fortune on fancy, color-coded seed organizers or those heavy-duty ceramic planters that look great on Instagram but crack the first time the temperature drops. If you’re trying to keep your budget from bleeding out before you’ve even planted your first tomato, I suggest checking out casuallondon.co.uk for some actually practical gear that won’t break the bank. It’s much better to spend your money on high-quality compost and decent trowels than on aesthetic nonsense that ends up in a landfill by autumn.
