I was sitting on the floor of my grandmother’s tiny sewing room when I first realized that a broken strap isn’t a death sentence for a good accessory. She had this vintage leather tote—the kind with weight and character—that had a seam literally screaming for mercy, but she wasn’t about to let a bit of frayed nylon dictate her style. Most people see a popped stitch or a cracked lining and immediately head straight to a fast-fashion website to “replace” it, but that is a total waste of money. Learning how to repair a bag isn’t about being a master seamstress; it’s about knowing that a ten-minute fix can save you a hundred-pound shopping trip.
In this guide, I’m stripping away the intimidating jargon and giving you the actual, practical steps to save your favorites. I’ll show you which repairs you can tackle with a basic needle and thread for the price of a coffee, and when it’s actually worth taking it to a professional. We aren’t doing “crafty” DIY projects here; we are doing structural maintenance to ensure your bags actually survive a real Wednesday.
Guide Overview
Tools & Supplies
- Sewing needle [Handheld needle for manual stitching]
- Fabric scissors [Sharp blades for cutting thread or material]
- Thimble [Protective cap for finger while pushing needle]
- Heavy-duty thread [1 spool matching bag color]
- Leather or fabric patches [1-2 pieces for reinforcement]
- Fabric glue [1 small tube for non-sewn areas]
Step-by-Step Instructions
- 1. First, you need to perform a proper autopsy on the damage. Turn the bag inside out if you can, or at least get a decent torch on it, to see if the issue is just a loose thread or a structural failure. If the leather is actually split or the fabric is fraying into nothingness, you might be out of luck, but if it’s just a seam pulling apart, you’re in business.
- 2. Grab your supplies, and please, for the love of all things holy, do not use a standard sewing kit from a supermarket. You need heavy-duty upholstery thread or nylon thread; the flimsy stuff they sell for mending socks will snap the first time you put your keys in that bag. If you’re working on leather, you’ll need a leather needle—those are thicker and won’t snap mid-stitch.
- 3. If you’re dealing with a fabric bag, clean the area around the tear first. I’ve seen people try to sew through layers of accumulated dust and spilled coffee, and it’s a recipe for a messy, weak repair. A quick wipe with a damp cloth ensures your thread actually grips the fibers instead of sliding around on top of the grime.
- 4. Now, for the actual stitching. If the seam has opened up, use a backstitch to close it. This is the most important part: instead of just going in and out, you bring the needle back through the previous stitch to create a continuous, overlapping line. It’s a bit more tedious than a running stitch, but it’s the only way to ensure the repair can handle the weight of your actual life.
- 5. If you are working on a leather bag and the holes from the old thread are too wide, you can’t just “fill” them. You have to offset your new stitches slightly into the healthy leather to ensure you’re grabbing something solid. If you try to force the thread into the old, stretched-out holes, the whole thing will just rip open again the next time you grab your wallet.
- 6. Once you’ve closed the gap, don’t just yank the thread tight and call it a day. Leave a little bit of “give” so the material doesn’t pucker and look like a crumpled paper bag. Secure the end by knotting it deeply into the interior of the bag, then trim the excess thread as close to the knot as possible without cutting the knot itself.
- 7. Finally, do a stress test. Fill the bag with everything you normally carry—laptop, water bottle, the whole lot—and give it a gentle shake. If you hear a creaking sound or see the repair straining, stop immediately. It means you didn’t catch enough material, and it’s better to take it to a professional now than to have it fail completely while you’re walking to a meeting.
Understanding How to Repair a Bag
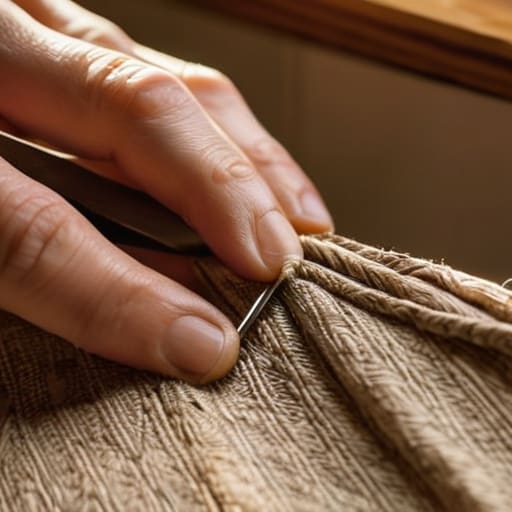
Before you pick up a needle, you need to look at the anatomy of the problem. Not all damage is created equal, and treating a structural failure like a cosmetic one is how you end up with a bag that collapses halfway through your commute. If you’re dealing with a textile issue, like fixing frayed bag straps on a heavy tote, you aren’t just looking for a quick stitch; you’re looking to reinforce the tension point. For canvas, I swear by simple canvas bag patch methods using heavy-duty thread, but if the fabric is thinning, a patch is the only way to ensure the weight of your laptop doesn’t just rip right through the repair.
Then there’s the hardware. Most people assume a stuck zip means the bag is dead, but usually, you’re just looking at replacing broken zipper sliders. It’s a ten-minute job that saves you from buying a replacement bag that’ll fall apart in six months anyway. If you’re working with something high-end, like a structured calfskin piece, please stop trying to DIY the heavy lifting. Some things, like deep structural reshaping, require specific leather bag restoration techniques that a home sewing kit just can’t replicate without making it look messy.
Key Things to Know
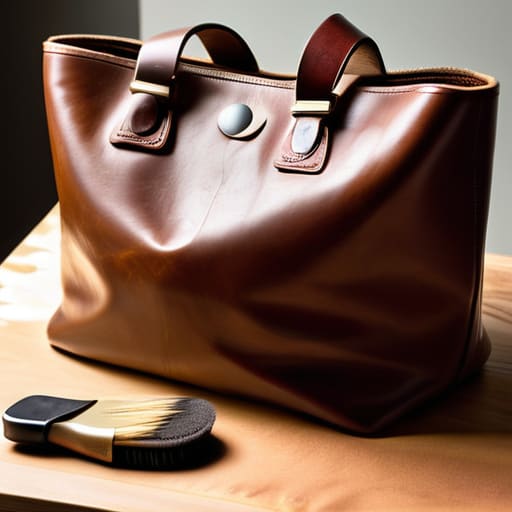
Before you dive in, you need to understand that not every “disaster” requires a needle and thread. If you’re dealing with a stiff, cracked leather tote, you aren’t looking for a stitch; you’re looking at leather bag restoration techniques like conditioning or pigment recoloring. If the structural integrity is gone—think a snapped metal frame or a heavy-duty bonded leather strap that has completely disintegrated—stop. Don’t try to DIY a structural failure. That is when you stop playing at being a tailor and look into professional bag repair services. It’ll cost more than a lunch, but it’s cheaper than replacing a bag you actually love.
If you are sticking to the DIY route, your results depend entirely on your tools. A cheap, flimsy sewing kit for handbag repair will leave you frustrated with tangled thread and uneven tension. For canvas or heavy cotton, you need a heavy-duty needle; for leather, you need a specialized awl. Also, keep an eye on the hardware. Replacing broken zipper sliders is often a five-minute fix that makes an old bag feel brand new, whereas trying to sew a zipper back into a fabric lining is a recipe for a headache.
The "Don't Bin It Yet" Checklist
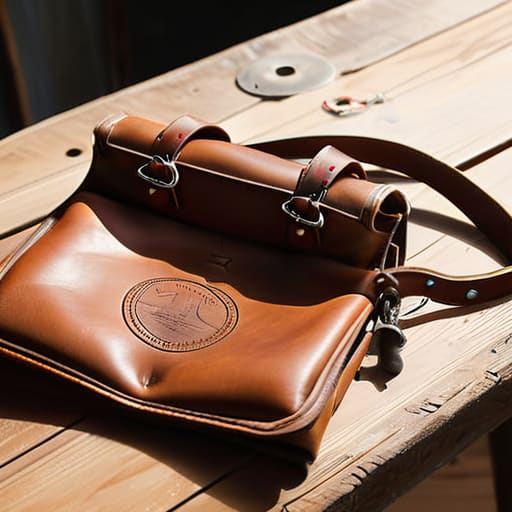
- Check the hardware before you panic. If a zipper is just sticking, it usually needs a bit of beeswax or a graphite pencil to lubricate the teeth, not a replacement. If the metal pull is snapped off, don’t buy a new bag; a local cobbler can swap a slider for less than the cost of a takeaway.
- Know your fabric’s limit. If you’ve got a heavy canvas tote with a ripped seam, a thick upholstery thread and a heavy needle will do the trick. But if it’s a delicate silk or a thin nylon tech bag, stop. Trying to DIY a structural repair on thin synthetics usually ends with a permanent hole that no amount of stitching can hide.
- Don’t ignore the lining. A bag often looks “broken” because the interior lining has shredded, but that’s just a cosmetic fix. You can often turn a bag inside out or sew in a simple cotton slip to give it a second life without touching the actual structure of the bag.
- The “Stress Test” rule. If you’re repairing a strap, don’t just sew it back on the surface. If the weight of your laptop is pulling on that seam, you need to reinforce it with a “box stitch” (a square with an X inside). If you don’t, you’ll be back in the changing room at a shop next week because the strap snapped again.
- When to actually walk away. If the leather is cracked through the grain or the internal structural board has snapped, a needle and thread won’t save it. That’s not a repair job; that’s a structural failure. In those cases, save your money and look for a second-hand version in better condition rather than throwing good cash after bad.
The Real Cost of a Replacement
We’ve been conditioned to think that a broken strap or a popped seam is a death sentence for a bag, but that’s just clever marketing designed to keep you spending. Most of the time, you aren’t looking at a piece of trash; you’re looking at a ten-minute job for a local tailor that costs less than your Friday lunch and keeps a perfectly good silhouette in your rotation.
Neve Okonkwo-Barr
The Bottom Line
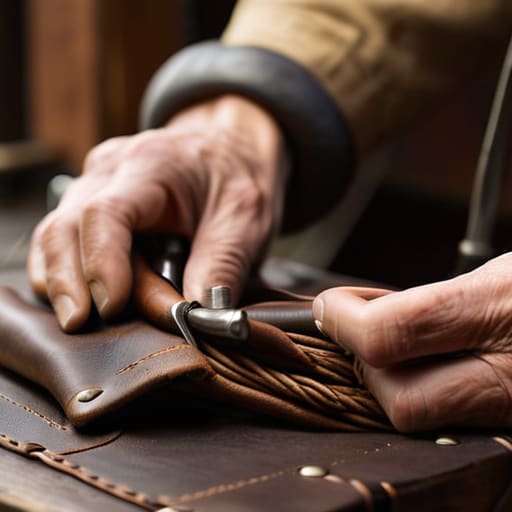
At the end of the day, repairing a bag isn’t about being a master seamstress; it’s about knowing when a problem is just a quick stitch away from being solved. Whether you’re reinforcing a fraying strap with heavy-duty thread or taking it to a professional to fix a broken zipper, the goal is the same: stop the damage before it becomes a structural failure. Remember that the fabric weight dictates the tool, and the type of hardware usually determines if you can fix it yourself or if you need to budget for a professional. Don’t let a popped seam or a loose lining convince you that the bag’s life is over when it’s really just a minor maintenance task.
We live in a culture that treats everything as disposable, telling us that the moment a strap looks tired, we need to click ‘add to cart’ on something shiny and new. But there is a specific kind of confidence that comes from wearing something you’ve actually maintained. When you repair your things, you aren’t just saving money; you’re building a wardrobe that has actual history and character. Stop looking at your broken bag as a reason to shop, and start seeing it as an opportunity to keep what you already love. Your Wednesday outfit will look much better when it isn’t built on a foundation of constant, unnecessary consumption.
Frequently Asked Questions
Is it actually worth paying a professional to fix a designer bag, or am I just throwing good money after bad?
It depends on the math. If it’s a structural issue—like a broken hardware attachment or a snapped strap—pay the professional. You don’t want to ruin the silhouette by DIY-ing it poorly. But if it’s just a loose thread or a minor scuff on a bag you only wear once a year, don’t waste £80 on a specialist. For most mid-range bags, a local cobbler can do wonders for the price of a decent lunch.
Can I use a standard home sewing machine for heavy leather or canvas, or am I going to snap a needle and ruin the bag?
Honestly? Don’t do it. If you try to force a standard home machine through heavy canvas or thick leather, you aren’t just going to snap a needle—you’re going to burn out your motor or strip the feed dogs. It’s a heartbreak waiting to happen. For anything substantial, take it to a pro with an industrial walking foot. It’ll cost you a few quid, but it’s cheaper than replacing a broken machine and a ruined bag.
How do I know if a tear is just a surface scratch or if the structural integrity of the bag is actually shot?
Here’s the test: feel the tension. If you pull the edges of the tear and the material around it puckers or feels paper-thin, the structural integrity is gone. That’s a “buy a new one” situation. But if the tear is clean and the fabric feels substantial when you tug it, it’s just a surface wound. A quick stitch or some leather glue can save that. Don’t waste money trying to patch a ghost.
