I was sitting on my floor last Tuesday, surrounded by a mountain of “unwearable” cashmere, when I realized most people treat a tiny hole in a sweater like a terminal diagnosis. We’ve been conditioned to think that once a thread pulls or a snag appears, the garment is officially dead and needs to be replaced by something new and shiny. That is a lie designed to keep you spending. Learning how to mend knitwear isn’t some high-level craft project reserved for people with endless free time; it is a survival skill for anyone who actually wants their clothes to last longer than a single season.
I’m not going to give you any of that “slow fashion” fluff that sounds beautiful but requires a loom and a prayer. Instead, I’m going to show you the actual, gritty mechanics of fixing what’s broken. We’re going to talk about which needles actually work, why your tension matters more than your patience, and how to hide a repair so well that even your most judgmental friend won’t notice. By the end of this, you’ll know exactly how to mend knitwear so you can stop mourning your wardrobe and start actually wearing it again.
Guide Overview
Tools & Supplies
- Darning needle and tapestry needle for weaving yarn
- Stitch markers to keep track of stitches
- Small scissors for trimming excess threads
- Matching knitting yarn (approx. 10-20 yards)
- Tapestry tape or stabilizer for delicate knits
Step-by-Step Instructions
- 1. First, you need to do a quick forensic investigation of the damage. Don’t just look at the hole; look at the edges of the yarn. If the edges are fuzzy and loose, you’re dealing with a standard snag or a small tear. If the edges are sharp and the knit is actually unraveling in a line, you’ve got a “run” that needs to be stopped immediately. Grab a needle and some matching thread—or better yet, a scrap of leftover yarn from the same sweater—to secure the live ends before the whole thing decides to migrate toward your hemline.
- 2. If you’re dealing with a simple hole, you’ll want to use the “duplicate stitch” method, which is basically just fancy talk for mimicking the existing pattern. Find a needle that isn’t too thick—you don’t want to create new holes while trying to fix old ones—and thread it with a single strand of matching yarn. Follow the path of the knit, going in and out of the existing loops just like the machine did. It’s not about being a master artist; it’s about tricking the eye so the repair blends into the texture.
- 3. For those slightly larger, more annoying holes where a bit of fabric has actually gone missing, you’re going to need a “darning egg” or something equally improvised, like a lightbulb or a smooth citrus fruit. The goal here is to create a sturdy foundation so you aren’t just sewing air. Place your object inside the garment to provide tension, then weave your yarn vertically across the hole to create a series of parallel lines, then weave horizontally over those. This creates a new “patch” of fabric that is structurally sound enough to survive a real Wednesday.
- 4. Now, pay close attention to the tension. This is where most people mess up and end up with a patch that feels like a piece of cardboard sewn onto a cloud. If you pull your thread too tight, you’ll pucker the surrounding knit, and suddenly you haven’t fixed a hole, you’ve just created a weird, tight knot that looks terrible. Keep your movements fluid and light; you want the repair to move with the garment, not fight against it.
- 5. Once you’ve filled the gap, you need to “weave in” your tails. Don’t just tie a messy knot and snip it—knots are bulky and they eventually pop out. Instead, take your needle and thread the loose ends back through the existing stitches for about an inch. This distributes the tension and makes the end of your repair almost invisible. It’s a tiny bit of extra work, but it’s the difference between a repair that lasts a decade and one that unravels in the wash.
- 6. Finally, give the whole thing a gentle “massage.” Lay the garment flat on a clean surface and use your fingers to lightly press the repaired area, helping the new stitches settle into the old ones. If you have a steamer, use it on a low setting to relax the fibers. This helps the mended section integrate with the rest of the knit, making sure that when you put it on, you aren’t constantly thinking about the spot you just fixed.
Understanding How to Mend Knitwear
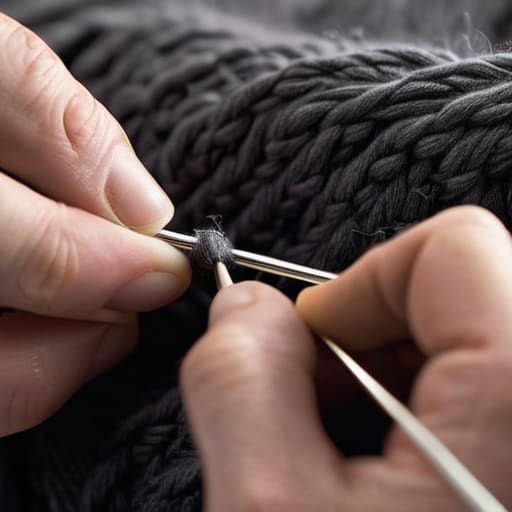
Before you even pick up a needle, you need to look at the fabric like a crime scene. Not all holes are created equal. If you’ve got a tiny puncture in a high-quality piece, you’re looking at mending cashmere holes with something close to invisible mending techniques. This isn’t about slapping a patch on it like a middle-schooler; it’s about using a single strand of matching yarn to mimic the knit structure. If the fabric is a chunky, loose weave, you have more wiggle room, but if it’s a tight, fine-gauge merino, you have to be surgical.
The biggest mistake I see—and I’ve spent way too many hours unpicking these in my studio—is trying to sew a hole shut without addressing the tension. If you just pull the edges together, you’ll end up with a permanent, ugly pucker that ruins the drape of the whole garment. You aren’t just closing a gap; you are reconstructing the architecture of the knit. If you’re repairing wool sweaters that have seen better days, always check if the hole was caused by a snag or a structural failure like a dropped stitch. One requires a bit of patience with a crochet hook, while the other needs a full-blown reconstruction.
Key Things to Know
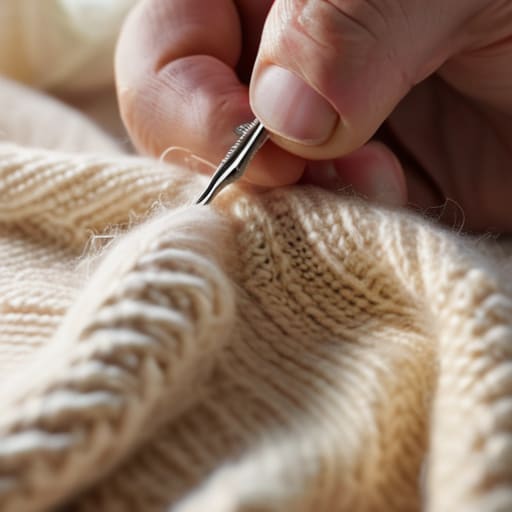
First, let’s talk about the “why” behind the damage. Most people think a hole means the garment is dead, but usually, it’s just a single point of failure. If you’re mending cashmere holes, you have to be gentler than you think. Cashmere is a luxury fiber, but it’s structurally delicate; if you pull too hard with your thread, you’ll just create a new hole next to the old one. Think of it as surgery, not sewing. You aren’t just closing a gap; you are restoring the tension of the knit.
Second, stop ignoring the “run.” If you see a little ladder forming, that is a warning shot. Fixing dropped stitches immediately is the difference between a five-minute fix and a total wardrobe catastrophe. If you wait until the hole is the size of a coin, you’re no longer just mending; you’re performing a miracle. Also, keep a small stash of matching yarn from the garment’s interior seams. It’s much easier to weave in yarn ends from a hidden seam than to hunt through a craft shop for a “navy” that is actually a “midnight blue.”
Five ways to stop a snag from becoming a disaster
- Don’t go hunting for a needle immediately; if you see a loop or a snag, use a crochet hook or even a safety pin to pull the loose thread through to the inside of the garment first. It’s much easier to hide a repair from the back than to try and stitch a loop back into place on the front.
- Stop using standard sewing thread for everything. If you try to fix a chunky wool jumper with thin polyester thread from a craft kit, you’re going to create a hard, scratchy line that looks like a scar. Use a matching wool or a darning thread that has some give; knitwear needs to move, or the repair will just pop open again the next time you put it on.
- Learn the difference between a hole and a run. A hole is a localized casualty, but a run is a structural failure. If you see a line of dropped stitches, you need to “catch” them by weaving a thread through the live loops immediately, or you’ll end up with a sweater that looks like it’s melting.
- Check the tension of your repair. I see this all the time in the studio—people fix a hole but pull the thread so tight that the fabric puckers around the mend. If your repair looks like a tight little knot, it’s going to ruin the drape of the whole piece. Aim for a repair that mimics the “bounce” of the original knit.
- Be honest about the “maths” of the repair. If you have a beautiful cashmere sweater with a massive, moth-eaten hole in the center of the chest, a tiny darn might cost you £15 in time and materials but still look like a patch. Sometimes, the most stylish thing you can do is turn that hole into a deliberate, decorative embroidery piece rather than pretending the damage isn’t there.
## The real cost of a snag
“Stop treating a small hole in your jumper like a death sentence. The industry wants you to think a snag means the garment is ‘done’ so you’ll go out and buy a new one, but for the price of a flat white and twenty minutes of patience, you can save a piece of clothing you actually love. Style isn’t about having a fresh knit every season; it’s about having a wardrobe that survives the reality of actually wearing it.”
Neve Okonkwo-Barr
Stop treating your knits like they’re disposable
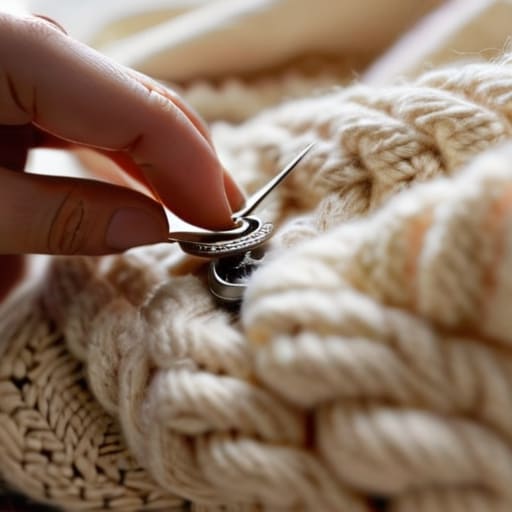
Look, mending a sweater isn’t about being a master seamstress; it’s about understanding that a small snag or a bit of pilling doesn’t mean the garment is dead. Whether you’re using a darning needle to close a hole or just carefully de-pilling a sleeve, the goal is to stop the damage from spreading. Remember that fabric weight and fiber content dictate how much patience you’ll need—a delicate cashmere demands a lighter touch than a chunky wool blend. If you take the time to match your thread color and respect the stitch direction, you aren’t just fixing a piece of clothing; you are preventing a landfill contribution that cost you fifty quid to buy in the first place.
At the end of the day, the fashion industry thrives on the idea that once something is broken, it’s useless. They want you to feel that “newness” is the only way to feel put together, but there is a specific kind of confidence that comes from wearing a jumper that has a history. A mended knit tells people you actually care about your things, and more importantly, that you know how to make things work. Don’t let a tiny hole dictate your wardrobe. Grab your kit, find a patch of good light, and give that sweater another year of life. It’s worth way more than the cost of a new one.
Frequently Asked Questions
If I use a different color of yarn than the original, will it look like a massive mistake or can I make it look intentional?
It depends on whether you’re trying to hide it or highlight it. If you use a near-match, you’re aiming for a “stealth mend”—it’s subtle and professional. But if you go for a high-contrast color, don’t try to pretend it’s invisible; that just looks like a mistake. Instead, lean into it. Call it “visible mending.” Use a bright, contrasting yarn to make the repair a deliberate design feature. It’s much more stylish than a bad patch job.
How do I know if a hole is actually fixable, or if the fabric is too far gone and I'm just wasting my time?
Look, I’ve seen enough “unfixable” sweaters in my studio to know the difference. If it’s a snag or a small hole where the yarn is still intact, fix it. If the fabric is thinning to the point where it looks like a spiderweb, or if the hole is right on a high-tension seam, you’re fighting a losing battle. If you can’t hold the edges of the hole together without the whole thing unraveling, it’s time to let it go.
Is it worth paying a professional to fix a snag, or am I just throwing money away on a piece of clothing that's already seen better days?
Look, don’t bin it just because it’s got a snag. If it’s a high-quality wool or cashmere that actually holds its shape, it’s worth the £15–£20 a tailor will charge to pull those loops back into place. But if it’s that thin, acrylic-heavy stuff from a fast-fashion haul that’s already pilling like crazy? Save your money. If the fabric integrity is gone, no amount of professional stitching will save the silhouette.
