Stop letting a loose thread convince you that a beautiful pair of trousers is actually trash. We’ve been conditioned to think that if a garment doesn’t hit the floor exactly where the mannequin did, it’s a lost cause—or worse, that you need to go out and buy a new size just to get the length right. That is a lie designed to keep you spending. The truth is, learning how to fix a hem is the single most effective way to make a twenty-pound thrift find look like it was custom-made for your legs. I spent two years in a basement studio pinning bridal silk and heavy denim, and I can tell you that most “fit problems” are actually just minor geometry adjustments waiting to happen.
In this guide, I’m stripping away the sewing jargon to give you the actual mechanics of the job. I’ll show you when you can grab a needle and thread for the cost of a coffee, and when you absolutely need to hand it over to a professional to avoid ruining the fabric weight. We aren’t doing “DIY hacks” that fall apart after one wash; we are talking about real, durable repairs that respect the garment. Whether you’re working with a delicate linen or a heavy cotton, I’ll show you how to get that clean, sharp finish without the headache.
Guide Overview
Tools & Supplies
- Fabric scissors for precise cutting
- Sewing needle for hand stitching or machine needle for sewing machines
- Iron for pressing the fold
- Thread matching the garment color (1 spool)
- Pins to hold the fabric in place (1 pack)
Step-by-Step Instructions
- 1. First, you need to stop looking at the garment on a hanger and start looking at it on your body. A hem that looks fine on a mannequin can look like a tragedy once it hits your ankles. Put the piece on with the exact shoes you plan to wear most often with it. If you’re fixing a maxi skirt, don’t measure it while wearing flats if you only ever wear boots. Pin the fabric upward until the length feels intentional, not accidental, and make sure you aren’t pinning it so high that you’re losing the original silhouette of the garment.
- 2. Once you’ve found the “sweet spot,” take the garment off and lay it flat on a hard surface—not a bed, because beds are too squishy and will give you a crooked line. Use a ruler or a measuring tape to ensure the distance from the waistband to the new hem is consistent all the way around. If you’re working with a circular skirt, this is where people usually mess up; you have to account for the fabric bias so it doesn’t ripple like a wave. Mark your new line with tailor’s chalk or a piece of regular soap if you’re desperate.
- 3. Now, the part that scares most people: the cut. You cannot just cut at your marked line, or you’ll have zero room for error. You need to leave a seam allowance—usually about one to two inches, depending on how heavy the fabric is. If it’s a lightweight silk, keep it slim; if it’s a heavy denim, give it some breathing room. Measure twice, cut once, and remember that you can always cut more off later, but you cannot add fabric back once it’s on the floor.
- 4. Fold the raw edge up to your marked line and press it with an iron. Do not skip the ironing step; this is the difference between a “homemade” look and a “handmade” look. A crisp, pressed fold acts like a roadmap for your sewing machine. If the fabric is particularly fussy, like a polyester blend that hates heat, use a pressing cloth so you don’t accidentally melt the fibers into a shiny, permanent mess.
- 5. If you have a sewing machine, stitch along that folded edge using a straight stitch. If you’re doing this by hand because you’re a purist (or just don’t own a machine), use a blind stitch. This is the magic stitch that stays hidden on the inside of the garment so you don’t see a line of thread running across the front of your skirt. If you’re fixing something heavy like trousers, a simple whipstitch is fine, as long as your tension is even and you aren’t pulling the fabric so tight that it bunches up.
- 6. Finally, give it a “stress test.” Try the garment on, walk around, and sit down. If the hem pulls or feels tight against your legs, you might have stitched it too close to the body. If it looks good, hit that hem one last time with the iron to set the stitches. If you’ve done it right, the garment should look like it was always meant to be that length, and you’ve just saved yourself the £15–£25 a tailor would have charged for the same job.
Understanding How to Fix a Hem
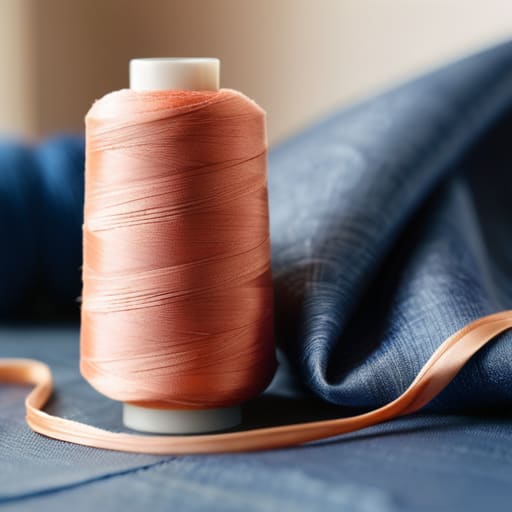
Before you pick up the needle, you need to look at the fabric weight. A heavy denim jean and a lightweight silk slip require completely different approaches; if you try to use the same heavy-duty thread on a delicate blouse, you’ll end up with puckered seams that look like a topographical map. For most of your everyday stuff, you’ll want to find the best thread for garment repair by matching the color and the fiber content—polyester thread is a workhorse for cotton, but don’t try to force it through silk.
If you aren’t comfortable with a machine, don’t panic. There are plenty of hand sewing techniques for beginners that work perfectly for a quick fix, like a simple blind stitch that keeps the thread invisible from the outside. If you’re truly terrified of a needle, there are no-sew hem alternatives like iron-on hem tape, but be warned: they can feel crunchy and often won’t survive a heavy wash cycle. My rule of thumb? If it’s a piece you actually love, spend the extra ten minutes doing it by hand or take it to a professional. It’s better than a messy DIY that ruins the silhouette.
Key Things to Know
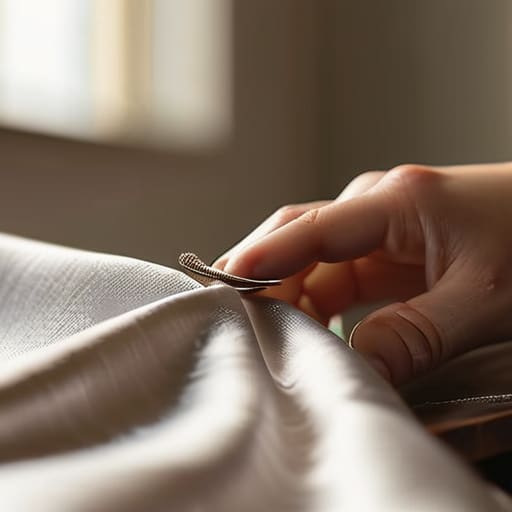
Before you even touch a needle, you need to look at the fabric. If you’re working with a heavy denim or a structured wool, you can’t just wing it with any old bobbin. You need to find the best thread for garment repair—something that matches the weight of the cloth, or you’ll end up with a seam that puckers like a raisin. If you’re dealing with something delicate like silk or a thin jersey, skip the heavy-duty machine settings and look into hand sewing techniques for beginners like the blind stitch. It’s much harder to hide a bulky machine stitch on a lightweight drape, and honestly, the extra ten minutes of manual work is worth the professional finish.
Also, let’s talk about the “why.” If you are tailoring trousers length because they’ve been dragging on the floor, check the bottom edge first. If the fabric is already shredded, you aren’t just shortening it; you’re repairing frayed garment edges. You might need to trim the damage and add a little extra seam allowance to compensate. Don’t try to cheat the math—if you cut too close to the fray, you’ll be left with a hole that no amount of stitching can save.
The "Don't Ruin It" Checklist
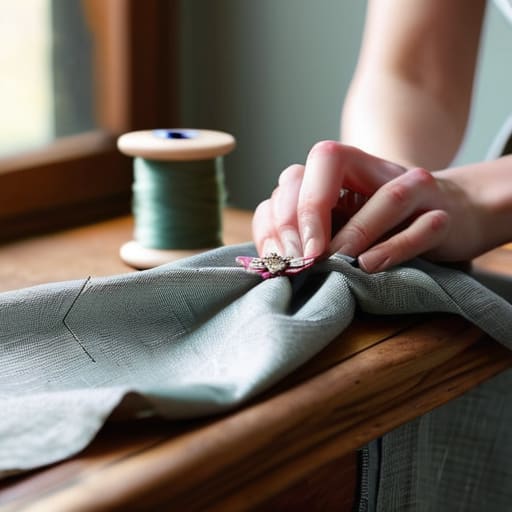
- Check the fabric weight before you touch a needle; if you’re trying to hem a heavy wool coat with a lightweight sewing thread, the seam is going to snap the first time you sit down, and that’s a mistake that costs more to fix than it’s worth.
- Always leave a “safety margin” of at least an inch; I’ve seen too many people hack off too much fabric because they were rushing, and once that seam allowance is gone, you can’t magically grow the garment back.
- Don’t trust your eyes alone—use pins or even safety pins to test the new length while you’re actually moving around, because a hem that looks great while you’re standing still in a mirror often looks ridiculous the moment you take a step.
- If you’re working with silk or anything slippery, skip the DIY attempt and take it to a professional; a crooked hem on a delicate fabric is a permanent scar, and a decent hem job on a silk slip should only run you about the price of a fancy sandwich.
- Iron your new hem line flat before you sew it; it feels like an extra step, but if you don’t press that fold, you’ll be fighting ripples and lumps in the fabric for the rest of the day.
The Real Cost of a Bad Hem
Stop letting a dragging hem convince you that a garment is “too much” or “not your style.” Most of the time, the piece is fine; it’s just the math of the fabric meeting the floor that’s wrong. For the price of a decent oat latte, you can move that line up two inches and suddenly you aren’t drowning in polyester—you’re actually wearing it.
Neve Okonkwo-Barr
Stop Letting Your Clothes Wear You
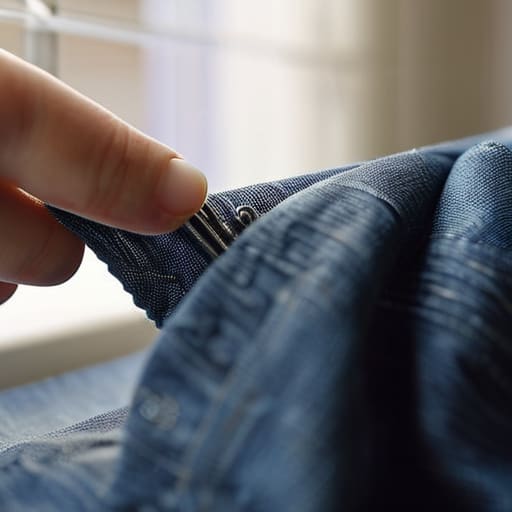
At the end of the day, fixing a hem isn’t about being a master seamstress; it’s about knowing when to stop fighting a garment and start making it work for your actual height. Whether you’ve tackled a simple straight hem on a cotton skirt or realized that a heavy denim cuff requires a bit more structural integrity and a heavy-duty needle, the goal remains the same: stopping the fabric from dragging or bunching in ways that make you feel awkward. Remember that the success of your fix depends entirely on your patience with the seam allowance and your choice of thread. If the fabric is too delicate for a DIY job, don’t be stubborn—take it to a professional. A twenty-pound alteration is always a better deal than a fifty-pound garment that sits in the bottom of your wardrobe because it makes you feel clunky and unpolished.
We spend so much time looking at new arrivals and “must-have” collections, but the most stylish version of you is usually already hiding in your closet, just waiting for a bit of adjustment. Style isn’t a math problem you solve by spending more money; it is a geometry problem you solve by getting the proportions right. When you take the time to fix that hem, you aren’t just repairing fabric—you are reclaiming your confidence. You are deciding that you deserve clothes that actually fit your life, rather than trying to shrink yourself to fit a trend. So, grab your pins, check your tension, and start building a wardrobe that actually works on a Wednesday.
Frequently Asked Questions
Can I actually hem this myself at home, or am I going to ruin the fabric if I don't have a professional machine?
Look, if you’re working with a sturdy denim or a heavy cotton, you can probably get away with a hand-stitch or a basic home machine. But if you’re touching silk, rayon, or anything with a tricky bias, please—don’t do it. One wrong pull and you’ve turned a decent skirt into a rag. For the price of a decent lunch, let a professional handle the tricky stuff. It’s better to pay for a seam than a replacement.
What happens if I hem a garment that has a delicate lace or beaded edge—will it look messy or cheap?
If you just chop off the lace, yeah, it’ll look cheap and unfinished. You can’t just ignore the design. If it’s a heavy beaded edge, you’re looking at a more expensive job because a tailor has to remove the trim, shorten the fabric, and then—this is the part that costs—reattach that lace or beadwork so it sits naturally. It’s not a DIY job; it’s a “pay a professional to save the silhouette” job.
If I shorten a pair of trousers, how much of the original detail am I going to lose in the seam allowance?
It depends entirely on how much “drama” is at the bottom of those trousers. If you’ve got a clean, simple hem, you’re fine—we just fold and stitch. But if there’s a heavy topstitch, a decorative braid, or a specific taper, you’re going to lose it. You can’t sew a designer detail back on once it’s been chopped off. If the detail is the whole point, don’t cut it; talk to a tailor about a reconstruction instead.
