Stop staring at that pile of “almost perfect” pants in the back of your wardrobe and thinking you need to go shopping again. I spent two years in a basement studio pinning hems for a bridal shop, and if there is one thing I learned, it’s that most people are walking around in clothes that are fighting their bodies rather than working with them. You don’t need a new wardrobe; you just need to understand how to alter trousers so they actually sit where they’re supposed to. Most of the “fit issues” you’re currently cursing at are actually just fixable construction problems that cost less than a decent lunch to solve.
In this guide, I’m stripping away the fashion industry’s nonsense and giving you the actual mechanics. I’ll show you how to tackle the big stuff like waist adjustments and seat issues, and the smaller, more annoying tasks like shortening a hem without making it look like a DIY disaster. We aren’t talking about “fashion magic” here; we are talking about seam allowances, fabric tension, and practical math. By the end of this, you’ll know exactly what you can fix with a needle and thread at home and when it’s time to pay a professional to handle the heavy lifting.
Guide Overview
Tools & Supplies
- Fabric scissors for clean cutting
- Seam ripper for removing old stitches
- Sewing machine or hand needles for stitching
- Measuring tape for accurate dimensions
- Iron for pressing seams
- Thread matching the fabric color
- Tailor's chalk or fabric marker for marking
- Sewing pins to hold fabric in place
Step-by-Step Instructions
- 1. First, you need to decide if you are actually doing this yourself or just prepping for a tailor. If you’re DIYing, grab a seam ripper, some chalk, and a clear ruler. If you’re taking them to a pro, you still need to pin them on your body first. Never, ever measure trousers lying flat on a bed and expect them to fit your hips. You need to be wearing them, ideally with the shoes you plan to wear most often, to see where the fabric actually hits.
- 2. If the waist is the problem, check the back seam. Most people think they need new trousers because the waistband gapes, but usually, there is enough seam allowance in the back to let it in. Turn the trousers inside out, pin the excess fabric at the center back seam, and make sure you aren’t pulling it so tight that you lose the shape of your seat. If there’s no extra fabric inside the seam, you’re out of luck—that’s when you stop and look for a different pair.
- 3. For the length, this is where most people mess up the “break.” Put your shoes on, stand in front of a full-length mirror, and pin the hem at the height you want. For a modern, clean look that doesn’t look like you’re wearing your dad’s old slacks, aim for a slight break or even no break at all. If you pin them too long, you’ll end up with a puddle of fabric around your ankles that makes you look shorter and makes the trousers look cheap.
- 4. Now, check the width of the leg. If the trousers feel like they’re swallowing you, you can taper them, but be careful. You want to pin from the mid-thigh down to the ankle. Don’t just go straight from the hip to the hem, or you’ll end up with weird, diagonal tension lines that make the fabric pull awkwardly when you sit down. You want a gradual, smooth curve that follows the natural line of your leg.
- 5. If you are sewing these yourself, iron your pins flat before you stitch. It sounds tedious, but if you don’t, your seam will be wavy and look like a sewing accident. Use a heavy-duty needle if you’re working with denim or thick wool, and always backstitch at the start and end of your line. If you skip this, the whole thing will unravel the first time you try to pull them on in a hurry.
- 6. Finally, do the “sit and walk” test. Once you’ve pinned everything, don’t just stand there looking pretty. Sit down in a chair, walk around the room, and squat a little. If the waistband digs into your ribs or the hem rides up so high you’re showing an inch of ankle, you need to re-pin and adjust. A garment isn’t meant for a mannequin; it’s meant for a human who actually moves.
Understanding How to Alter Trousers
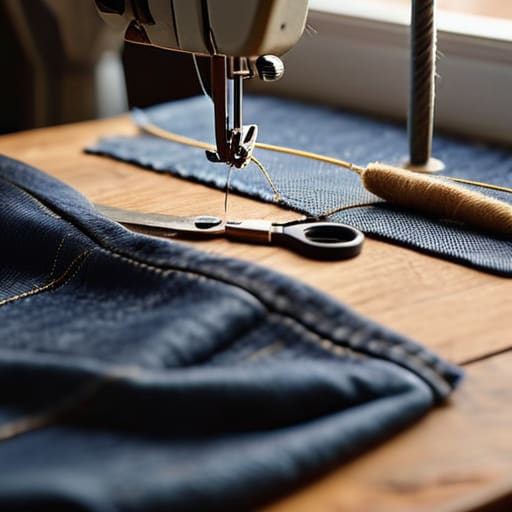
Before you even touch a needle, you need to look at the construction. Not all trousers are created equal, and some are much more “stubborn” than others. If you’re working with heavy-duty cotton, you’ll need to adjust your sewing machine settings for denim—specifically a longer stitch length and a heavy-duty needle—otherwise, you’ll end up with a bird’s nest of thread and a broken machine. If you’re dealing with something delicate like silk or fine wool, you have to respect the grainline. If you pull the fabric too hard while tapering trouser legs, you’ll create a ripple that no amount of steam can ever iron out.
It’s also vital to understand what is actually fixable versus what is a money pit. You can easily fix a waist that’s too big or a hem that’s too long, but adjusting trouser rise is a whole different beast. That involves the crotch curve and the seat, which usually means deconstructing the entire garment. If the rise is wrong, don’t try to DIY it; that’s when you take it to a professional. Know the difference between a quick fix and a structural overhaul before you start cutting.
Key Things to Know
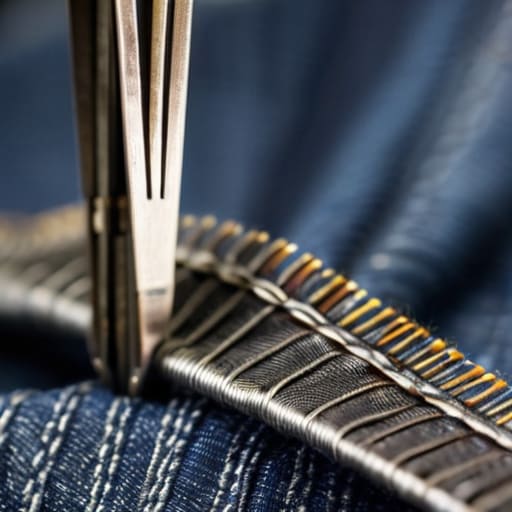
Before you pick up the shears, we need to talk about the reality of the fabric in your hands. If you are working with heavy denim, your standard domestic machine is going to scream for mercy if you don’t adjust your sewing machine settings for denim first. You need a heavy-duty needle and a slower pace; otherwise, you’ll end up with skipped stitches that make the whole repair look amateur. On the flip side, if you’re tackling something delicate like silk or lightweight wool, the danger isn’t the weight, but the tension. If you pull too hard while tapering trouser legs, you’ll get that puckered, wavy seam that makes a pair of trousers look like they were sewn by a toddler.
Also, please, for the love of all things sartorial, check your seam allowance before you commit. If you are attempting to fix a waist that is too small, you only have so much “insurance” hidden inside that seam. Once you cut that fabric away, it’s gone forever. I always tell my clients that adjusting trouser rise or width is a game of mathematical limits. If the garment doesn’t have enough extra fabric inside to work with, no amount of skill will save it. Know your limits before you make a permanent mistake.
Five things I wish people knew before they picked up a needle
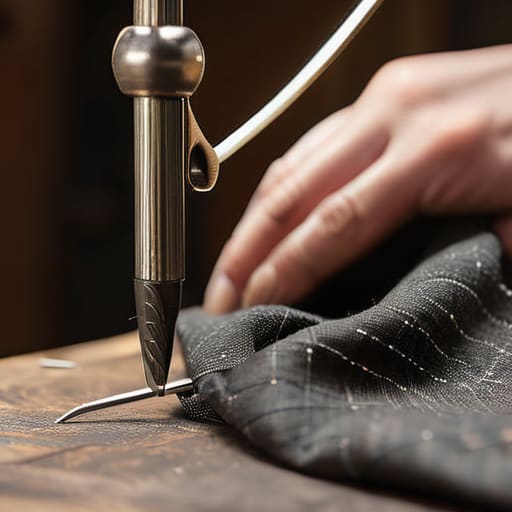
- Check the rise before you touch the waist. If the trousers are pulling too tight at the crotch or the rise is too short, no amount of waistband tweaking will save them. You can fix a waist that’s a centimeter too big, but you can’t magically add fabric to a rise that’s cutting you in half.
- Don’t ignore the fabric composition. If you’re trying to hem a pair of 100% polyester fast-fashion trousers, be careful with heat; you’ll melt the fibers before you even get a crisp crease. If it’s a natural wool blend, you’ve got more wiggle room, but always test a scrap first.
- The “hem allowance” is your best friend or your worst enemy. Before you cut anything, turn the trousers inside out and see how much extra fabric is tucked up inside the bottom. If there’s only half an inch of seam allowance, you’re stuck with that length. Don’t cut until you’ve measured the “hidden” fabric.
- Stop trying to DIY a complex taper if you don’t have a heavy-duty machine. Taking in a side seam is fine for a beginner, but if you’re trying to reshape the entire leg of a heavy denim jean, you’re going to end up with puckered, wavy seams that look like a cry for help. Some things are worth the £15 tailor fee.
- Ironing is actually 50% of the alteration. If you hem your trousers but leave the edge looking bulky and unpressed, they’ll look homemade in the worst way. Use a pressing cloth to get that crisp, professional edge—it’s the difference between “I fixed these” and “these look brand new.”
The Real Cost of a "Good Fit"
Stop treating a slightly loose waist like a reason to visit the high street. Most of the time, you aren’t looking for a new pair of trousers; you’re just looking for a seamstress who knows how to respect a waistband. Spend the £15 on a tailor instead of the £60 on a replacement, and you’ll actually end up with something that looks like it was made for you, rather than something you just squeezed into.
Neve Okonkwo-Barr
The Bottom Line
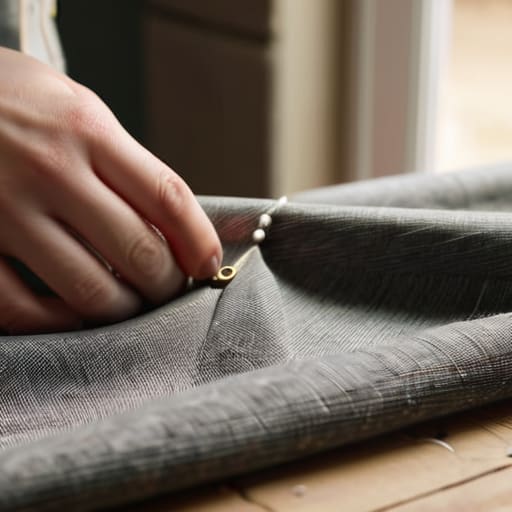
Look, at the end of the day, altering your trousers isn’t about chasing some runway silhouette; it’s about making sure your clothes actually respect the shape of your body. Whether you’ve spent the afternoon wrestling with a sewing machine or you’ve decided to hand them over to a professional, remember that the goal is functional fit. Focus on the essentials: getting the hem length right so you aren’t tripping over your own feet, and ensuring the waist doesn’t require a belt to act as a structural support. If you can master the seam allowance and understand how the fabric wants to drape, you’ve already won half the battle.
Please stop letting the retail industry convince you that a slightly awkward fit is a reason to discard a perfectly good piece of clothing. Most of the “flaws” you see in the mirror are just fixable geometry. When you start looking at your wardrobe through the lens of what can be adjusted rather than what needs to be replaced, you stop being a consumer and start being a curator. A well-fitted pair of second-hand trousers is always going to look more expensive and feel more “you” than a brand-new pair that sits wrong in the hips. Build a wardrobe that works for your life, not one that requires you to change your body to fit the clothes.
Frequently Asked Questions
I’ve tried pinning the hem myself, but how do I know if I’m actually leaving enough seam allowance so I don't ruin the trousers?
Look, the biggest mistake people make is being too stingy with the fabric. If you’re shortening them, don’t just trim right up to the stitch line. You need at least an inch of extra fabric folded up inside—that’s your seam allowance. If you cut it too close, you’ve got zero room for error, and you can’t “un-cut” a mistake. Leave that extra bit; it’s the difference between a clean hem and a ruined pair of trousers.
If the crotch is bunching or the rise feels weirdly tight, is that something a tailor can actually fix, or is that a lost cause?
Honestly? That’s the “danger zone.” If the rise is too short, it’s a lost cause—you can’t magically conjure more fabric where there isn’t any. But if it’s just bunching because the seat is too baggy, a tailor can usually take it in. It’ll cost you more than a simple hem, maybe £25–£40 depending on the construction, but it’s better than wearing trousers that make you look like you’re sitting on a cushion.
How can I tell if a pair of trousers is made of a fabric that's actually worth the cost of the alterations?
Look at the composition tag, but then actually touch it. If it’s 100% polyester, it’s going to trap heat and eventually pill, no matter how well it fits. I look for natural fibers—wool, cotton, or linen—because they take a stitch beautifully and hold their shape after a wash. If it feels like wearing a plastic bag, don’t bother spending £15 on a hem. Save that money for something that actually breathes.
