Stop looking at that beautiful, slightly-too-big vintage find as a wasted purchase just because the waistline doesn’t sit where it should. The fashion industry wants you to believe that if a garment doesn’t fit your body perfectly right off the rack, it’s a lost cause—and that the only solution is to go buy something else. That is a lie designed to keep you spending. Learning how to alter a dress isn’t about becoming a master seamstress overnight; it’s about understanding that most “fit problems” are actually just math problems involving seam allowances and fabric tension. I spent two years in a cramped basement studio pinning hems for brides who were more stressed about the cost of a new gown than the cost of a simple adjustment, and I promise you, the fix is almost always cheaper than the replacement.
In this guide, I’m skipping the fluff and the “aspirational” nonsense to give you the actual mechanics of garment repair. I’ll walk you through how to identify which seams are safe to move, how to tell if a fabric is too delicate for a DIY job, and exactly when you should put down the needle and actually pay a professional. We are going to talk about real construction, not trends.
Guide Overview
Tools & Supplies
- Fabric scissors for clean cuts
- Seam ripper to remove old stitching
- Sewing machine or hand needles for repair
- Measuring tape for accuracy
- Matching thread (1 spool)
- Sewing pins (1 pack)
- Tailor's chalk or fabric marker (1 unit)
Step-by-Step Instructions
- 1. First, you need to put the dress on and look in a mirror, but don’t just stand there looking pretty—move around. Sit down, reach for your phone, and cross your arms. If you’re planning to take this dress to a wedding or a long dinner, you need to know if that seam is going to bite into your ribs or if the hem is going to trip you up the second you walk. Use safety pins to mark where it feels tight or where it’s sagging, but don’t pin it too tight or you’ll end up with a garment that’s too small once you actually sew it.
- 2. Turn the dress inside out and find your pins. I know, it feels counterintuitive, but you want to pin the wrong side of the fabric so you aren’t fighting through the pretty print while you work. If you are taking in the sides, start at the armhole and work your way down to the hip. If you’re just shortening a hem, pin it where you want the new edge to sit, but leave an extra inch or two for the fold-over—if you don’t account for the seam allowance, you’re going to end up with a dress that’s shorter than you intended.
- 3. Check your math before you touch a needle. This is where most people mess up: they pin a line and forget that the fabric needs room to breathe. I always tell my clients to leave a buffer. If you’re taking in the waist, make sure you aren’t pinning it so close to the zipper that the teeth can’t close. If the dress has a zipper, you might actually have to unpick the end of it to get the fabric underneath, which is a bit of a headache but much better than a broken zip.
- 4. Now, grab your chalk or a piece of disappearing ink and trace your pin line. This creates a clear roadmap so you aren’t just sewing blindly. If you’re a beginner, do not try to sew a curved line (like an armhole) in one go; use tiny, straight stitches to navigate the curve. If you’re just doing a straight side seam, make sure your line is perfectly parallel to the original seam, otherwise, the dress will start to twist around your body in a way that looks very accidental and very cheap.
- 5. Start sewing, but for the love of everything, use a fresh needle. A dull needle will snag expensive silk or pull threads in a knit, and once that happens, you’re looking at a repair job that costs more than the dress itself. If you are working with a stretchy fabric, you absolutely must use a zigzag stitch or a stretch stitch; if you use a standard straight stitch on a jersey dress, the thread will snap the very first time you try to pull it over your head.
- 6. Once the sewing is done, you have to do the “trial run.” Take the pins out, shake the garment, and put it back on. This is the moment of truth where you see if you’ve actually fixed the fit or just created a new problem. If it looks good, trim the excess fabric—but leave about half an inch of “insurance” hanging off the seam. If you cut it too close to the stitch line and your sewing was slightly wonky, you’ve got nothing left to save it.
- 7. Finally, finish the edges so they don’t fray. If you don’t have a serger (the machine that makes those professional-looking looped edges), just use a tight zigzag stitch along the raw edge of the fabric you just trimmed. It keeps the threads from unraveling in the wash. Once that’s done, give the whole thing a quick steam or a press with an iron; a pressed seam is the difference between a homemade hack and a garment that actually looks like it was made for you.
Understanding How to Alter a Dress
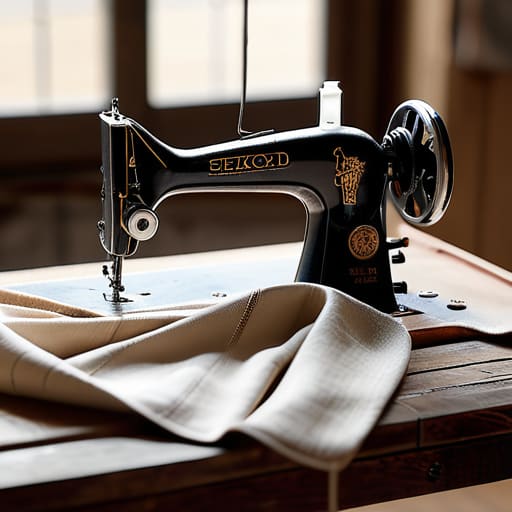
Before you even touch a pair of shears, you need to look at the construction of the piece. Not all dresses are created equal, and some are much harder to fight than others. If you’re looking at a structured midi with a lining, you aren’t just adjusting garment fit; you’re performing surgery on layers. I always tell my clients to check the fabric composition first. A natural fiber like cotton or wool is forgiving and holds a stitch beautifully, whereas a cheap, high-percentage polyester blend can be a nightmare—it’s slippery, it melts under an iron, and it often refuses to play nice with even the basic sewing machine techniques for beginners.
The most important thing to remember is that you are working within the limits of the existing seams. If a dress is too small in the bust, you can’t just magically manifest more fabric. However, if the silhouette is just “off,” you have options. Most of the time, the magic happens when you start taking in side seams to reclaim your shape. Just be careful: if you go too far, you’ll ruin the balance of the garment, and then no amount of pinning will save you. Always measure twice, pin with intention, and remember that fabric has memory.
Key Things to Know
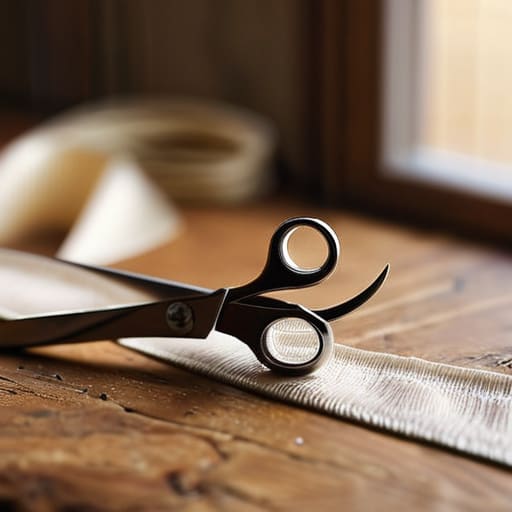
Before you even touch a needle, you need to look at the fabric weight. If you’re working with a heavy wool blend, you can’t just wing it; if you’re dealing with silk, you’re going to need specific needles or you’ll end up with a trail of tiny holes that look like a moth moved in. When you’re adjusting garment fit, the most important thing to remember is that you can always take fabric away, but you can’t magically conjure it back. I’ve seen so many people try to “fix” a dress only to realize they’ve cut off the very seam allowance they needed to make it work.
Also, please don’t underestimate the importance of your tools. You don’t need a professional studio, but skipping on sewing notions for dressmaking—like decent quality thread or sharp fabric shears—is how a quick fix turns into a disaster. If you’re taking in side seams, pin the dress on your body first, not on a flat table. A dress that looks perfect lying down might pull awkwardly across your hips the moment you actually stand up and breathe.
Five things I wish people would stop doing to their dresses
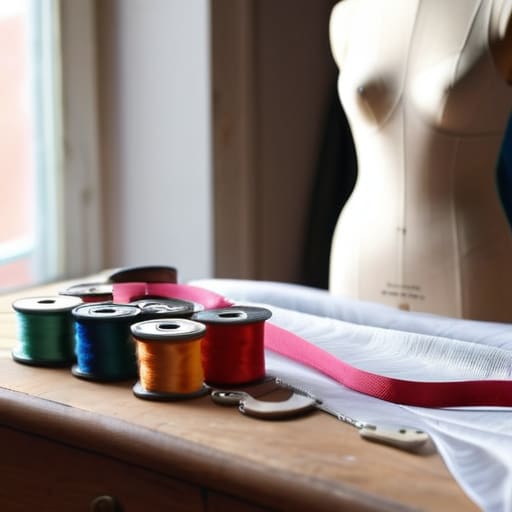
- Stop trying to DIY the hard stuff. If you’re looking at a zipper, a lining, or a complex dart, put the sewing machine down. For twenty quid, a professional will do it in twenty minutes; if you mess up the silk, you’ve just turned a lovely dress into a very expensive rag.
- Check your seam allowance before you chop. I see people take a dress in at the waist and then realize they’ve cut right into the seam allowance, leaving zero room to let it out later. Always leave yourself a “safety margin” of fabric inside the seam—think of it as your insurance policy for when you inevitably want to eat a bigger lunch.
- Fabric weight dictates the tool. You cannot sew a heavy wool crepe with the same needle you use for a chiffon slip. If you force a thick needle through delicate fabric, you’ll leave permanent puncture holes that look like a tiny crime scene. Match your needle to your fabric, or don’t bother.
- Pinning is not the same as fitting. You can pin a dress until it looks perfect on a mannequin, but if you don’t move around, sit down, and reach for your phone while it’s pinned, you’re going to rip a seam the moment you leave the house. Test the range of motion before you ever touch the thread.
- Don’t ignore the grainline. If you’re shortening a hem and you don’t make sure the fabric is hanging straight and true to the grain, the dress will twist around your legs like a spiral staircase. A crooked hem is the fastest way to make a high-end piece look like a clearance-bin disaster.
The Truth About the "Perfect" Fit
Stop looking for the dress that fits you perfectly right off the rack; it doesn’t exist, and the marketing departments want you to think it does. Real style isn’t about finding a garment that happens to match your measurements, it’s about knowing which seams can be moved and which fabrics can handle a needle so you can turn a ‘maybe’ into your favorite piece of clothing for the price of a lunch special.
Neve Okonkwo-Barr
Before You Pick Up the Scissors
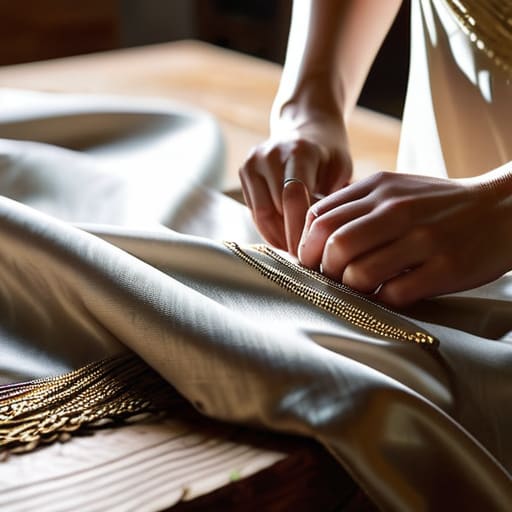
At the end of the day, altering a dress isn’t about achieving some impossible runway perfection; it’s about making sure the garment actually respects your shape. Whether you’ve just tackled a simple hem or you’ve realized that a side seam adjustment is the only way to save that vintage find, remember that the goal is functional comfort. Don’t get caught up in trying to force a fabric to do something it wasn’t built for—if the grainline is wonky or the tension is too high, just step back. Always double-check your measurements, respect the seam allowance, and if you feel that moment of panic where the fabric looks more like a science experiment than a dress, stop and call a professional. A twenty-pound alteration fee is a much better outcome than a ruined silk slip.
We spend so much time looking at new arrivals online, thinking the next purchase will finally be “the one” that fits perfectly. But the truth is, the most stylish version of you isn’t found in a shopping cart; it’s found in the clothes you already own that have been reclaimed through effort. When you take the time to fix a waistline or shorten a sleeve, you aren’t just mending fabric—you are breaking the cycle of disposable fashion. You are deciding that your body deserves better than “off-the-rack” compromises. So, go ahead, grab the pins, and start building a wardrobe that actually works for your life, one stitch at a time.
Frequently Asked Questions
Is it actually cheaper to pay a tailor to fix a dress than it is to just buy a new one that fits?
Unless you’re buying a $5 polyester rag from a fast-fashion site that’s going to fall apart after three washes, the answer is almost always yes. A decent hem or waist nip usually costs less than a decent lunch. If you spend $40 on alterations to make a $60 dress actually fit your shape, you’ve spent $100 on a garment that looks bespoke. Buying a new $120 dress that still sits weirdly? That’s just expensive math.
Can I really fix a dress if the fabric is something tricky like silk or heavy sequins, or will I just ruin it?
Look, I’m not going to lie to you: silk and heavy sequins are high-stakes. If you try to machine-sew a delicate silk slip with a heavy needle, you’ll end up with permanent puckering that looks like a topographical map. Sequins are even worse—they’ll shred your thread and jam your machine. If you don’t have a microtex needle and a steady hand, don’t DIY it. Take it to a pro. It’s cheaper than a ruined dress.
How do I know if a dress is "fixable," or am I just wasting money on an alteration that won't actually change the silhouette?
Look at the seams, not the label. If the dress is too small in the shoulders or the hips, run. You can’t magically manufacture fabric that isn’t there without ruining the silhouette. But if it’s too big, or if the waist is pooling, that’s an easy win. Check the seam allowance—if there’s extra fabric inside the seam, it’s fixable. If it’s skin-tight with no room to breathe, walk away.
